Vue3 列表界面数据展示详情
目录
- 一、列表界面展示示例
- 2、进行数据显示
- 2.1、组件在列表显示
- 2.2、接口返回数据在列表显示
- 2.3、接口数据改造
- 2.4、list列表一行显示为多条数据
- 2.5、列表内容前图标样式修改
一、列表界面展示示例
现在要做的就是把打到页面的数据,带样式,也就是说好看点显示。
之前我们在《Vue3(二)集成Ant Design Vue》这篇文章中,有提及组件的使用,对于一个前端不是很好(后端也不咋的),本着拿来主义,我们能现成的是最好、最省事的方式了。
直白点说就是,找Ant Design Vue现成的组件,将列表数据按组件样式显示到界面上。
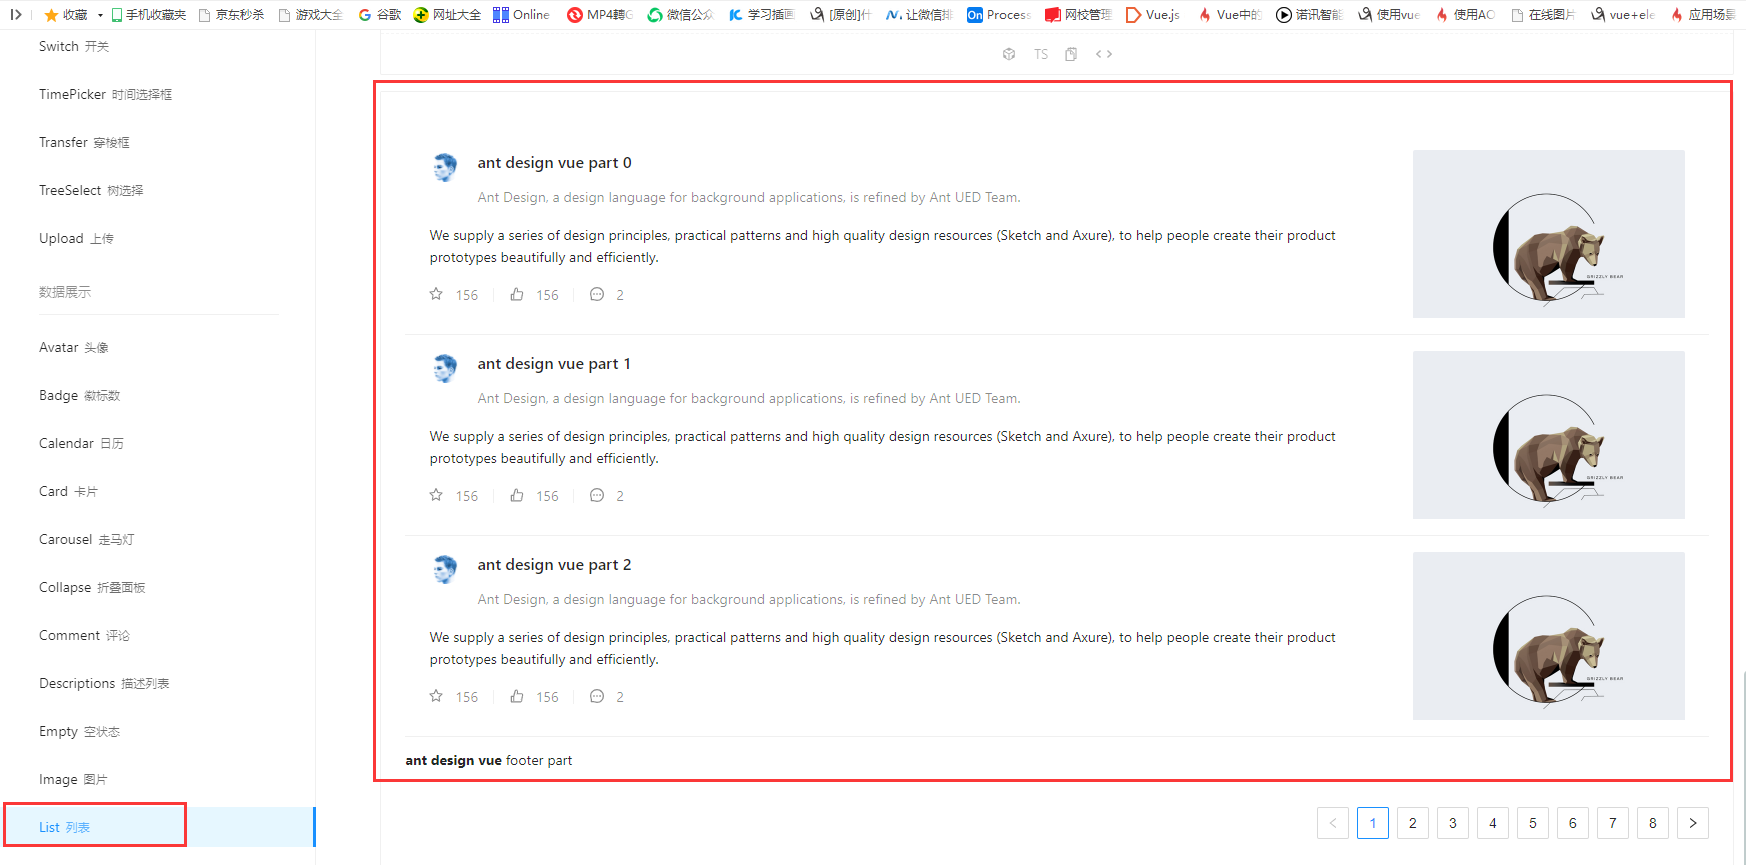
1、挑选自己喜欢的列表样式
从https://2x.antdv.com/components/list-cn中,找到list列表,找到自己喜欢的风格,
如下图所示:
2、进行数据显示
2.1、组件在列表显示
接下来,我们只需要在home里进行修改即可,找到刚才对应组件的位置,把对应代码拷贝到home中,然后在进行修改即可,
示例代码如下:
<template>
  <a-layout>
    <a-layout-sider width="200" style="background: #fff">
      <a-menu
          mode="inline"
          v-model:selectedKeys="selectedKeys2"
          v-model:openKeys="openKeys"
          :style="{ height: '100%', borderRight: 0 }"
      >
        <a-sub-menu key="sub1">
          <template #title>
                <span>
                  <user-outlined />
                  subnav 1
                </span>
          </template>
          <a-menu-item key="1">option1</a-menu-item>
          <a-menu-item key="2">option2</a-menu-item>
          <a-menu-item key="3">option3</a-menu-item>
          <a-menu-item key="4">option4</a-menu-item>
        </a-sub-menu>
        <a-sub-menu key="sub2">
          <template #title>
                <span>
                  <laptop-outlined />
                  subnav 2
                </span>
          </template>
          <a-menu-item key="5">option5</a-menu-item>
          <a-menu-item key="6">option6</a-menu-item>
          <a-menu-item key="7">option7</a-menu-item>
          <a-menu-item key="8">option8</a-menu-item>
        </a-sub-menu>
        <a-sub-menu key="sub3">
          <template #title>
                <span>
                  <notification-outlined />
                  subnav 3
                </span>
          </template>
          <a-menu-item key="9">option9</a-menu-item>
          <a-menu-item key="10">option10</a-menu-item>
          <a-menu-item key="11">option11</a-menu-item>
          <a-menu-item key="12">option12</a-menu-item>
        </a-sub-menu>
      </a-menu>
    </a-layout-sider>
    <a-list item-layout="vertical" size="large" :pagination="pagination" :data-source="listData">
      <template #footer>
        <div>
          <b>ant design vue</b>
          footer part
        </div>
      </template>
      <template #renderItem="{ item }">
        <a-list-item key="item.title">
          <template #actions>
          <span v-for="{ type, text } in actions" :key="type">
            <component v-bind:is="type" style="margin-right: 8px" />
            {{ text }}
          </span>
          </template>
          <template #extra>
            <img
                width="272"
                alt="logo"
                src="https://gw.alipayobjects.com/zos/rmsportal/mqaQswcyDLcXyDKnZfES.png"
            />
          </template>
          <a-list-item-meta :description="item.description">
            <template #title>
              <a :href="item.href" rel="external nofollow"  rel="external nofollow"  rel="external nofollow"  rel="external nofollow" >{{ item.title }}</a>
            </template>
            <template #avatar><a-avatar :src="item.avatar" /></template>
          </a-list-item-meta>
          {{ item.content }}
        </a-list-item>
      </template>
    </a-list>
  </a-layout>
</template>

<script lang="ts">
import { defineComponent,onMounted,ref,reactive,toRef} from 'vue';
import axios from 'axios';
import { StarOutlined, LikeOutlined, MessageOutlined } from '@ant-design/icons-vue';
const listData: Record<string, string>[] = [];

for (let i = 0; i < 23; i++) {
  listData.push({
    href: 'https://www.antdv.com/',
    title: `ant design vue part ${i}`,
    avatar: 'https://zos.alipayobjects.com/rmsportal/ODTLcjxAfvqbxHnVXCYX.png',
    description:
        'Ant Design, a design language for background applications, is refined by Ant UED Team.',
    content:
        'We supply a series of design principles, practical patterns and high quality design resources (Sketch and Axure), to help people create their product prototypes beautifully and efficiently.',
  });
}

export default defineComponent({
  components: {
    StarOutlined,
    LikeOutlined,
    MessageOutlined,
  },
  name: 'Home',
  setup(){
    const pagination = {
      onChange: (page: number) => {
        console.log(page);
      },
      pageSize: 3,
    };
    const actions: Record<string, string>[] = [
      { type: 'StarOutlined', text: '156' },
      { type: 'LikeOutlined', text: '156' },
      { type: 'MessageOutlined', text: '2' },
    ];
    console.log('set up');
    //使用ref进行数据绑定
    const ebooks=ref();
    // 使用reactive进行数据绑定
    const ebooks1=reactive({books:[]})
    onMounted(()=>{
      axios.get("http://localhost:8888/ebook/list?name=spring").then(response =>{
        console.log("onMounted");
        const data=response.data;
        ebooks.value=data.content;
        ebooks1.books=data.content;
      })
    })
    return{
      listData,
      pagination,
      actions,
      ebooks1: ebooks,
      ebooks2:toRef(ebooks1,"books")
    }

  }
});
</script>
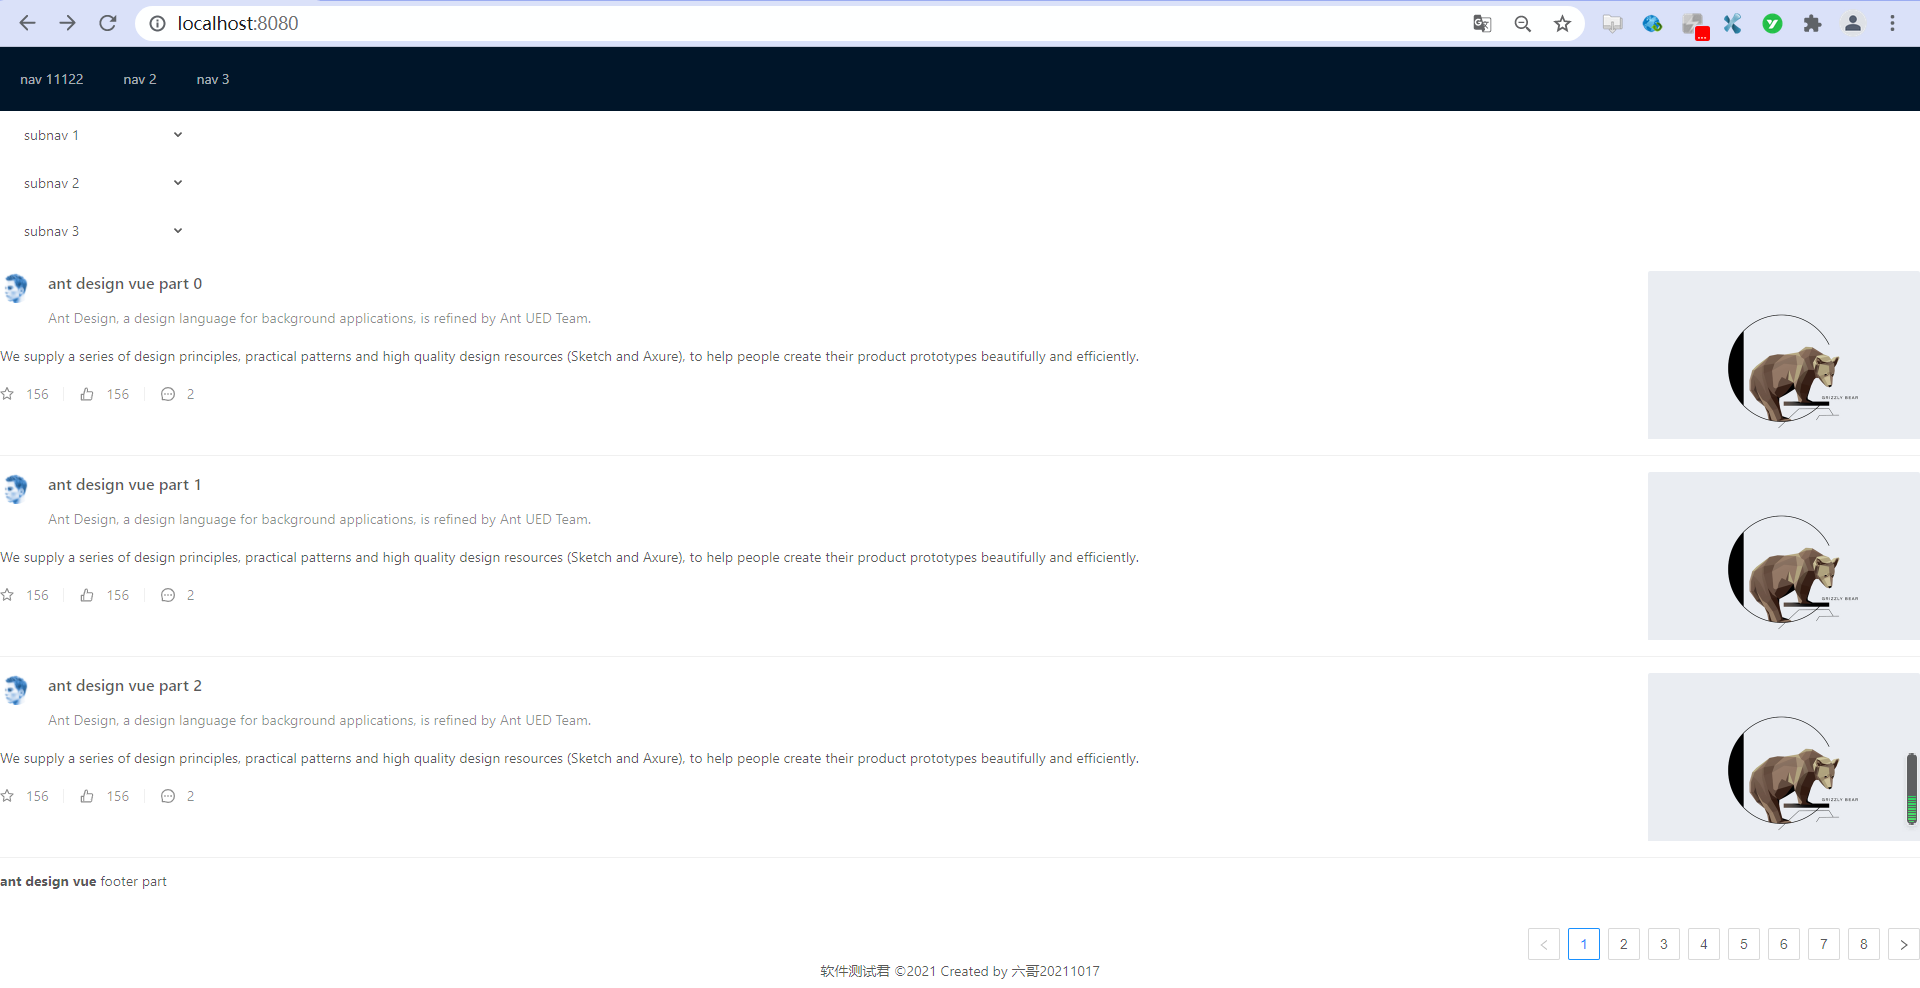
重新编译运行,查看效果如下:
2.2、接口返回数据在列表显示
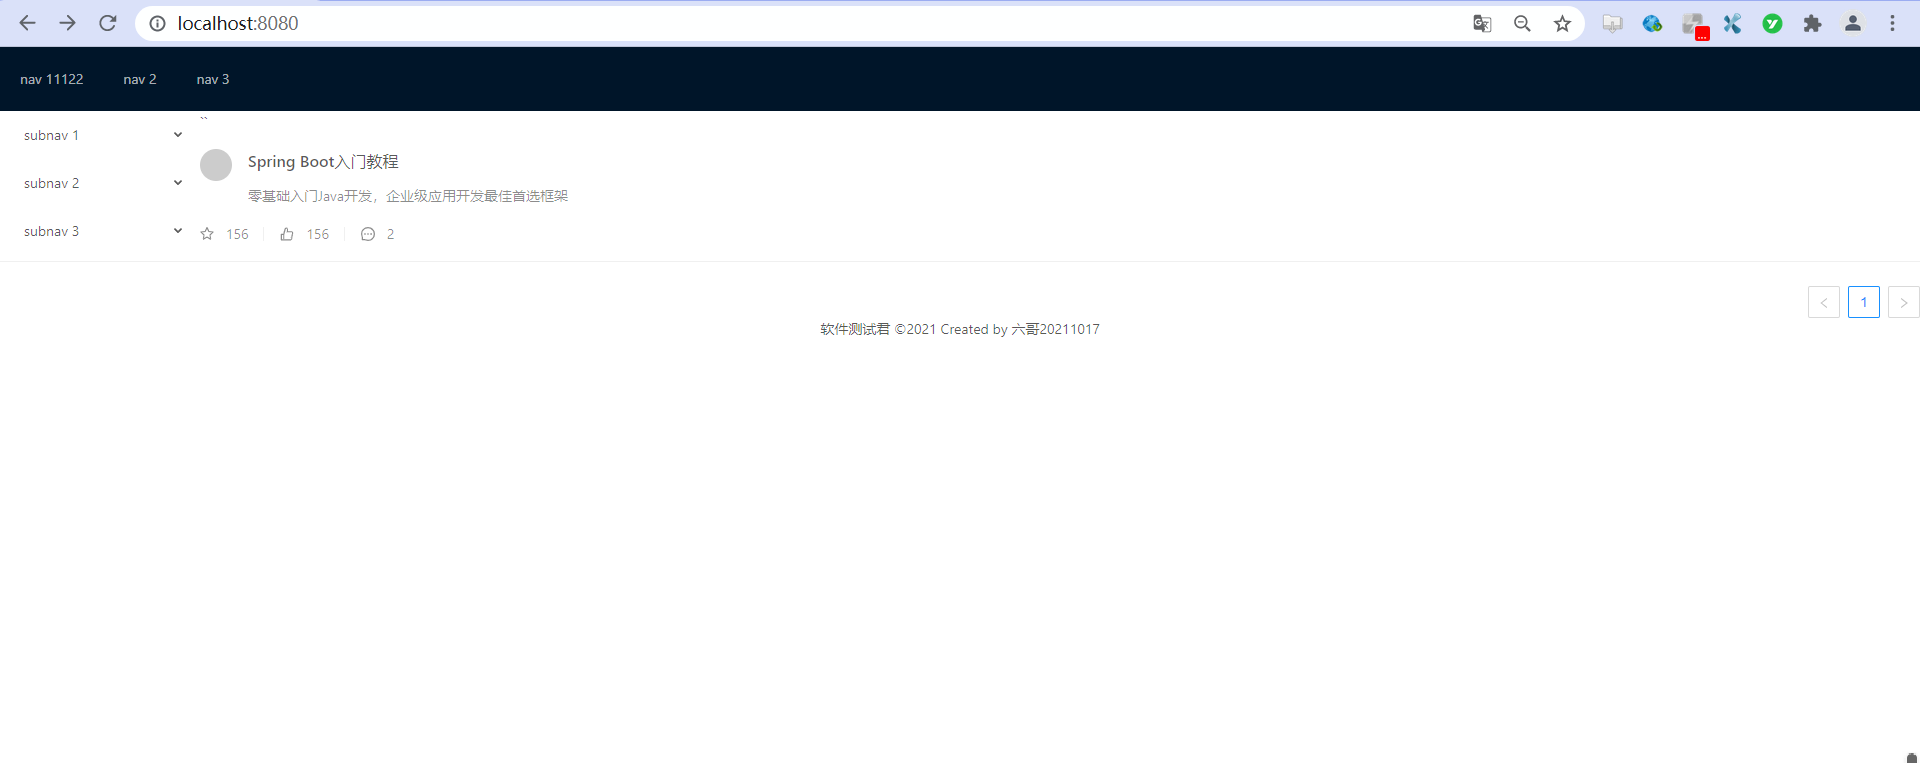
明显现在,可以看到想要用的列表样式已经在页面中成功展示了,但这并不是我想要的,我想要的是后端接口返回数据在此处展示,也就是数据源,接下来,我们再次调整Home的代码,
示例代码如下:
<template>
  <a-layout>
    `<a-layout-sider width="200" style="background: #fff">
      <a-menu
          mode="inline"
          v-model:selectedKeys="selectedKeys2"
          v-model:openKeys="openKeys"
          :style="{ height: '100%', borderRight: 0 }"
      >
        <a-sub-menu key="sub1">
          <template #title>
                <span>
                  <user-outlined />
                  subnav 1
                </span>
          </template>
          <a-menu-item key="1">option1</a-menu-item>
          <a-menu-item key="2">option2</a-menu-item>
          <a-menu-item key="3">option3</a-menu-item>
          <a-menu-item key="4">option4</a-menu-item>
        </a-sub-menu>
        <a-sub-menu key="sub2">
          <template #title>
                <span>
                  <laptop-outlined />
                  subnav 2
                </span>
          </template>
          <a-menu-item key="5">option5</a-menu-item>
          <a-menu-item key="6">option6</a-menu-item>
          <a-menu-item key="7">option7</a-menu-item>
          <a-menu-item key="8">option8</a-menu-item>
        </a-sub-menu>
        <a-sub-menu key="sub3">
          <template #title>
                <span>
                  <notification-outlined />
                  subnav 3
                </span>
          </template>
          <a-menu-item key="9">option9</a-menu-item>
          <a-menu-item key="10">option10</a-menu-item>
          <a-menu-item key="11">option11</a-menu-item>
          <a-menu-item key="12">option12</a-menu-item>
        </a-sub-menu>
      </a-menu>
    </a-layout-sider>`
    <a-list item-layout="vertical" size="large" :pagination="pagination" :data-source="ebooks1">
      <template #renderItem="{ item }">
        <a-list-item key="item.name">
          <template #actions>
          <span v-for="{ type, text } in actions" :key="type">
            <component v-bind:is="type" style="margin-right: 8px" />
            {{ text }}
          </span>
          </template>
          <a-list-item-meta :description="item.description">
            <template #title>
              <a :href="item.href" rel="external nofollow"  rel="external nofollow"  rel="external nofollow"  rel="external nofollow" >{{ item.name }}</a>
            </template>
            <template #avatar><a-avatar :src="item.cover" /></template>
          </a-list-item-meta>
        </a-list-item>
      </template>
    </a-list>
  </a-layout>
</template>

<script lang="ts">
import { defineComponent,onMounted,ref,reactive,toRef} from 'vue';
import axios from 'axios';
import { StarOutlined, LikeOutlined, MessageOutlined } from '@ant-design/icons-vue';
const listData: Record<string, string>[] = [];

for (let i = 0; i < 23; i++) {
  listData.push({
    href: 'https://www.antdv.com/',
    title: `ant design vue part ${i}`,
    avatar: 'https://zos.alipayobjects.com/rmsportal/ODTLcjxAfvqbxHnVXCYX.png',
    description:
        'Ant Design, a design language for background applications, is refined by Ant UED Team.',
    content:
        'We supply a series of design principles, practical patterns and high quality design resources (Sketch and Axure), to help people create their product prototypes beautifully and efficiently.',
  });
}

export default defineComponent({
  components: {
    StarOutlined,
    LikeOutlined,
    MessageOutlined,
  },
  name: 'Home',
  setup(){
    const pagination = {
      onChange: (page: number) => {
        console.log(page);
      },
      pageSize: 3,
    };
    const actions: Record<string, string>[] = [
      { type: 'StarOutlined', text: '156' },
      { type: 'LikeOutlined', text: '156' },
      { type: 'MessageOutlined', text: '2' },
    ];
    console.log('set up');
    //使用ref进行数据绑定
    const ebooks=ref();
    // 使用reactive进行数据绑定
    const ebooks1=reactive({books:[]})
    onMounted(()=>{
      axios.get("http://localhost:8888/ebook/list?name=spring").then(response =>{
        console.log("onMounted");
        const data=response.data;
        ebooks.value=data.content;
        ebooks1.books=data.content;
      })
    })
    return{
      listData,
      pagination,
      actions,
      ebooks1: ebooks,
      ebooks2:toRef(ebooks1,"books")
    }

  }
});
</script>
<style>
.ant-layout-sider{
  float: left;
}
</style>
重新编译运行,查看效果如下:
2.3、接口数据改造
很明显,列表数据太少,我对接口进行改造,让其返回多条数据。
我们从service中,不难看出我们做的是,不管传入什么,都是写死的走的模糊查询,这里我们改成动态SQL即可,
示例代码如下:
package com.rongrong.wiki.service;

import com.rongrong.wiki.domain.EBook;
import com.rongrong.wiki.domain.EBookExample;
import com.rongrong.wiki.mapper.EBookMapper;
import com.rongrong.wiki.req.EBookReq;
import com.rongrong.wiki.resp.EBookResp;
import org.springframework.stereotype.Service;
import org.springframework.util.ObjectUtils;

import javax.annotation.Resource;
import java.util.List;

import static com.rongrong.wiki.util.CopyUtil.copyList;

/**
 * @author rongrong
 * @version 1.0
 * @description
 * @date 2021/10/13 23:09
 */
@Service
public class EBookService {

    @Resource
    private EBookMapper eBookMapper;

    public List<EBookResp> list(EBookReq eBookReq) {
        EBookExample eBookExample = new EBookExample();
        //此处代码的意思相当于,搞了一个Sql的where条件
        EBookExample.Criteria criteria = eBookExample.createCriteria();
        //划波浪线为不推荐使用,这里我们去看源代码做个替换即可
        if(!ObjectUtils.isEmpty(eBookReq.getName())){
            criteria.andNameLike("%"+eBookReq.getName()+"%");
        }
        List<EBook> eBookList = eBookMapper.selectByExample(eBookExample);
        //List<EBookResp> eBookRespList = new ArrayList<>();
        //for (EBook eBook: eBookList) {
        //    //EBookResp eBookResp = new EBookResp();
        //    ////spring boot 自带的BeanUtils完成对象的拷贝
        //    //BeanUtils.copyProperties(eBook, eBookResp);
        //    //eBookResp.setId(12345L);
        //    //单体复制
        //    EBookResp copy = copy(eBook, EBookResp.class);
        //    eBookRespList.add(copy);
        //}
        //列表复制
        List<EBookResp> respList = copyList(eBookList, EBookResp.class);
        return respList;
    }
}
查看接口返回数据,如下:

2.4、list列表一行显示为多条数据
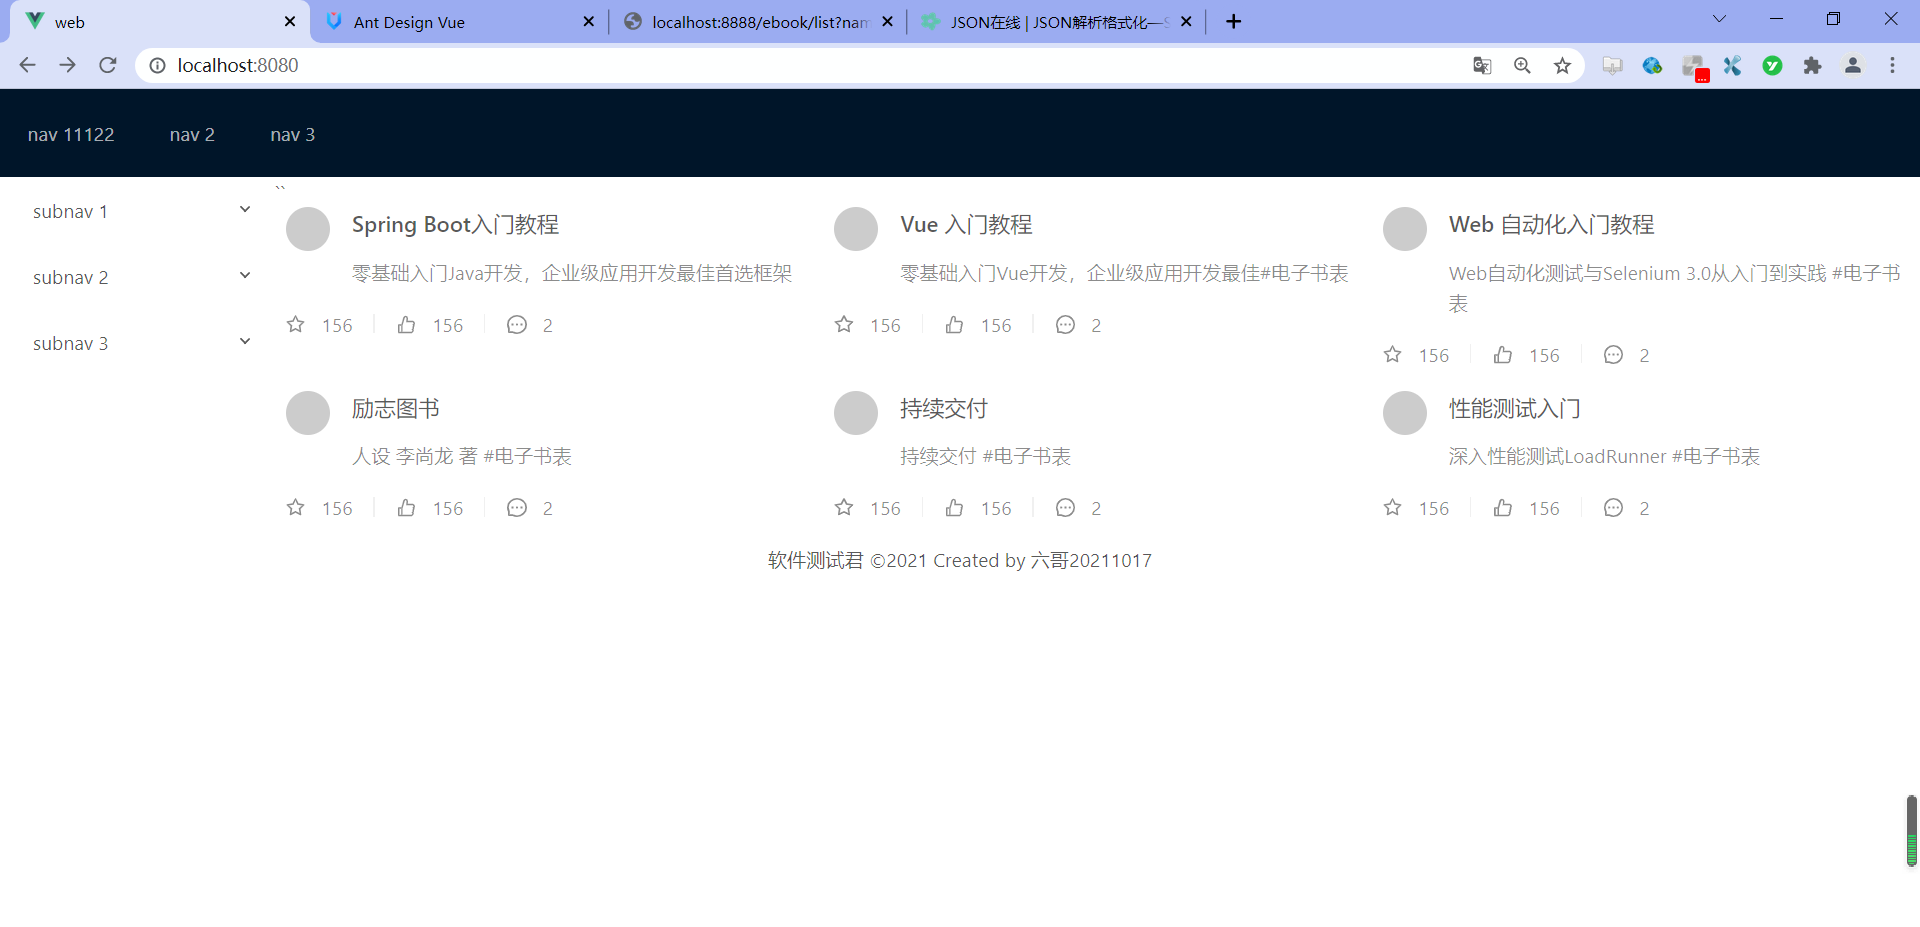
接口改造完成,接着需要对列表显示内容进行修改,同样在list列表找到栅格列表,我们还在home中修改,示例代码如下:
<template>
  <a-layout>
    `<a-layout-sider width="200" style="background: #fff">
      <a-menu
          mode="inline"
          v-model:selectedKeys="selectedKeys2"
          v-model:openKeys="openKeys"
          :style="{ height: '100%', borderRight: 0 }"
      >
        <a-sub-menu key="sub1">
          <template #title>
                <span>
                  <user-outlined />
                  subnav 1
                </span>
          </template>
          <a-menu-item key="1">option1</a-menu-item>
          <a-menu-item key="2">option2</a-menu-item>
          <a-menu-item key="3">option3</a-menu-item>
          <a-menu-item key="4">option4</a-menu-item>
        </a-sub-menu>
        <a-sub-menu key="sub2">
          <template #title>
                <span>
                  <laptop-outlined />
                  subnav 2
                </span>
          </template>
          <a-menu-item key="5">option5</a-menu-item>
          <a-menu-item key="6">option6</a-menu-item>
          <a-menu-item key="7">option7</a-menu-item>
          <a-menu-item key="8">option8</a-menu-item>
        </a-sub-menu>
        <a-sub-menu key="sub3">
          <template #title>
                <span>
                  <notification-outlined />
                  subnav 3
                </span>
          </template>
          <a-menu-item key="9">option9</a-menu-item>
          <a-menu-item key="10">option10</a-menu-item>
          <a-menu-item key="11">option11</a-menu-item>
          <a-menu-item key="12">option12</a-menu-item>
        </a-sub-menu>
      </a-menu>
    </a-layout-sider>`
    <a-list item-layout="vertical" size="large"
            :grid="{ gutter: 16, column: 3 }" :data-source="ebooks1">
      <template #renderItem="{ item }">
        <a-list-item key="item.name">
          <template #actions>
          <span v-for="{ type, text } in actions" :key="type">
            <component v-bind:is="type" style="margin-right: 8px" />
            {{ text }}
          </span>
          </template>
          <a-list-item-meta :description="item.description">
            <template #title>
              <a :href="item.href" rel="external nofollow"  rel="external nofollow"  rel="external nofollow"  rel="external nofollow" >{{ item.name }}</a>
            </template>
            <template #avatar><a-avatar :src="item.cover" /></template>
          </a-list-item-meta>
        </a-list-item>
      </template>
    </a-list>
  </a-layout>
</template>

<script lang="ts">
import { defineComponent,onMounted,ref,reactive,toRef} from 'vue';
import axios from 'axios';
import { StarOutlined, LikeOutlined, MessageOutlined } from '@ant-design/icons-vue';
const listData: Record<string, string>[] = [];

export default defineComponent({
  components: {
    StarOutlined,
    LikeOutlined,
    MessageOutlined,
  },
  name: 'Home',
  setup(){
    const pagination = {
      onChange: (page: number) => {
        console.log(page);
      },
      pageSize: 3,
    };
    const actions: Record<string, string>[] = [
      { type: 'StarOutlined', text: '156' },
      { type: 'LikeOutlined', text: '156' },
      { type: 'MessageOutlined', text: '2' },
    ];
    console.log('set up');
    //使用ref进行数据绑定
    const ebooks=ref();
    // 使用reactive进行数据绑定
    const ebooks1=reactive({books:[]})
    onMounted(()=>{
      axios.get("http://localhost:8888/ebook/list?name=").then(response =>{
        console.log("onMounted");
        const data=response.data;
        ebooks.value=data.content;
        ebooks1.books=data.content;
      })
    })
    return{
      pagination,
      actions,
      ebooks1: ebooks,
      ebooks2:toRef(ebooks1,"books")
    }

  }
});
</script>
<style>
.ant-layout-sider{
  float: left;
}
</style>
知识点:
:grid="{ gutter: 16, column: 4 }",是进行栅格显示,栅格间隔16,每行显示4个- 这里要删除:
pagination="pagination",即分页显示
再来重新编译,查看效果如下:
2.5、列表内容前图标样式修改
一切看是很好,但感觉是图书封面有点小不好看,如下图:
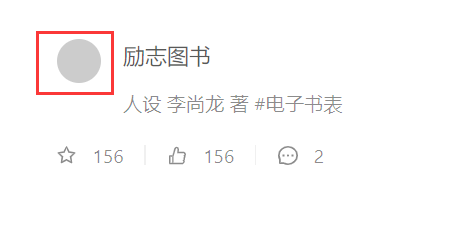
来接着改样式,只需在home里调整即可,示例代码如下:
html
<template>
  <a-layout>
    `<a-layout-sider width="200" style="background: #fff">
      <a-menu
          mode="inline"
          v-model:selectedKeys="selectedKeys2"
          v-model:openKeys="openKeys"
          :style="{ height: '100%', borderRight: 0 }"
      >
        <a-sub-menu key="sub1">
          <template #title>
                <span>
                  <user-outlined />
                  subnav 1
                </span>
          </template>
          <a-menu-item key="1">option1</a-menu-item>
          <a-menu-item key="2">option2</a-menu-item>
          <a-menu-item key="3">option3</a-menu-item>
          <a-menu-item key="4">option4</a-menu-item>
        </a-sub-menu>
        <a-sub-menu key="sub2">
          <template #title>
                <span>
                  <laptop-outlined />
                  subnav 2
                </span>
          </template>
          <a-menu-item key="5">option5</a-menu-item>
          <a-menu-item key="6">option6</a-menu-item>
          <a-menu-item key="7">option7</a-menu-item>
          <a-menu-item key="8">option8</a-menu-item>
        </a-sub-menu>
        <a-sub-menu key="sub3">
          <template #title>
                <span>
                  <notification-outlined />
                  subnav 3
                </span>
          </template>
          <a-menu-item key="9">option9</a-menu-item>
          <a-menu-item key="10">option10</a-menu-item>
          <a-menu-item key="11">option11</a-menu-item>
          <a-menu-item key="12">option12</a-menu-item>
        </a-sub-menu>
      </a-menu>
    </a-layout-sider>`
    <a-list item-layout="vertical" size="large"
            :grid="{ gutter: 16, column: 3 }" :data-source="ebooks1">
      <template #renderItem="{ item }">
        <a-list-item key="item.name">
          <template #actions>
          <span v-for="{ type, text } in actions" :key="type">
            <component v-bind:is="type" style="margin-right: 8px" />
            {{ text }}
          </span>
          </template>
          <a-list-item-meta :description="item.description">
            <template #title>
              <a :href="item.href" rel="external nofollow"  rel="external nofollow"  rel="external nofollow"  rel="external nofollow" >{{ item.name }}</a>
            </template>
            <template #avatar><a-avatar :src="item.cover" /></template>
          </a-list-item-meta>
        </a-list-item>
      </template>
    </a-list>
  </a-layout>
</template>

<script lang="ts">
import { defineComponent,onMounted,ref,reactive,toRef} from 'vue';
import axios from 'axios';
import { StarOutlined, LikeOutlined, MessageOutlined } from '@ant-design/icons-vue';
const listData: Record<string, string>[] = [];

export default defineComponent({
  components: {
    StarOutlined,
    LikeOutlined,
    MessageOutlined,
  },
  name: 'Home',
  setup(){
    const pagination = {
      onChange: (page: number) => {
        console.log(page);
      },
      pageSize: 3,
    };
    const actions: Record<string, string>[] = [
      { type: 'StarOutlined', text: '156' },
      { type: 'LikeOutlined', text: '156' },
      { type: 'MessageOutlined', text: '2' },
    ];
    console.log('set up');
    //使用ref进行数据绑定
    const ebooks=ref();
    // 使用reactive进行数据绑定
    const ebooks1=reactive({books:[]})
    onMounted(()=>{
      axios.get("http://localhost:8888/ebook/list?name=").then(response =>{
        console.log("onMounted");
        const data=response.data;
        ebooks.value=data.content;
        ebooks1.books=data.content;
      })
    })
    return{
      pagination,
      actions,
      ebooks1: ebooks,
      ebooks2:toRef(ebooks1,"books")
    }

  }
});
</script>
<style scoped>
.ant-layout-sider{
  float: left;
}
.ant-avatar {
  width: 50px;
  height: 50px;
  line-height: 50px;
  border-radius: 8%;
  margin: 5px 0;
}
</style>
再次重新编译,查看下过如下:

到此这篇关于Vue3 列表界面数据展示详情的文章就介绍到这了,更多相关Vue3 列表界面数据展示内容请搜索海外IDC网以前的文章或继续浏览下面的相关文章希望大家以后多多支持海外IDC网!
【本文出处:国外高防服务器 复制请保留原URL】