ubuntu安装显卡驱动和cuda教程
目录
- 1. 卸载原始的驱动
- 2. 下载新显卡驱动
- 2.1 安装显卡驱动
- 3 安装cuda
- 查看nvcc -V
- cudatoolkit
- 4. 安装cudnn
- 5. 安装anaconda
- 添加环境变量
- 替换anaconda源
- 查看tensorflow版本
- 测试安装的tensorflow
写在最前面:
最新的版本不一定是好的,合适的才是最好的,建议cuda10.1+cudnn7.6.5
1. 卸载原始的驱动
#查看安装的包
apt list --installed|grep -i nvidia
#卸载包
apt-get purge nvidia*
2. 下载新显卡驱动
https://www.nvidia.cn/Download/index.aspx?lang=cn
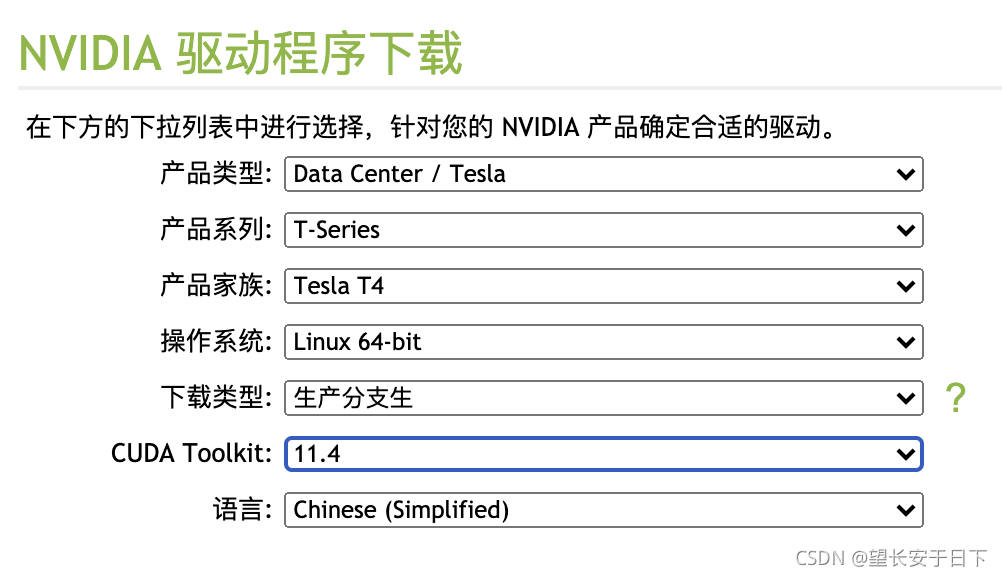
复制下载链接,在系统中用wget下载
#下载
wget https://cn.download.nvidia.cn/tesla/470.57.02/NVIDIA-Linux-x86_64-470.57.02.run
#安装
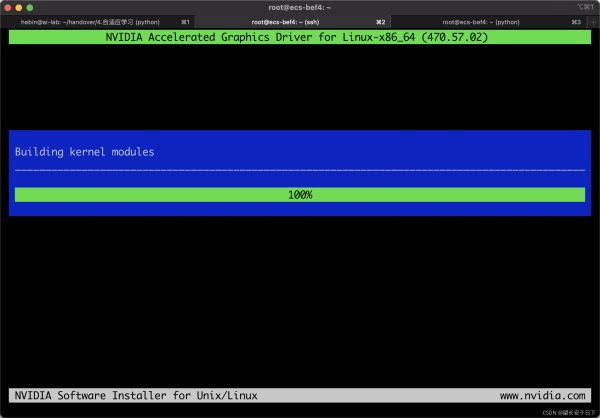
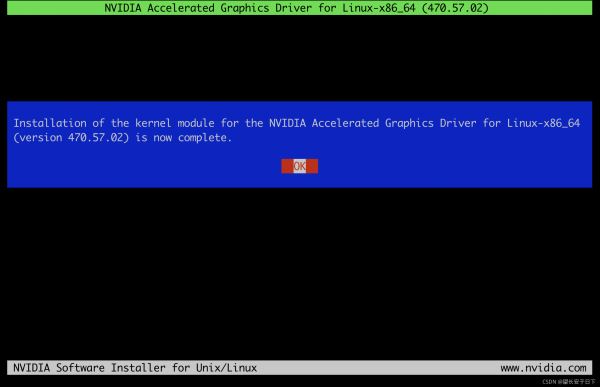
sudo sh NVIDIA-Linux-x86_64-470.57.02.run
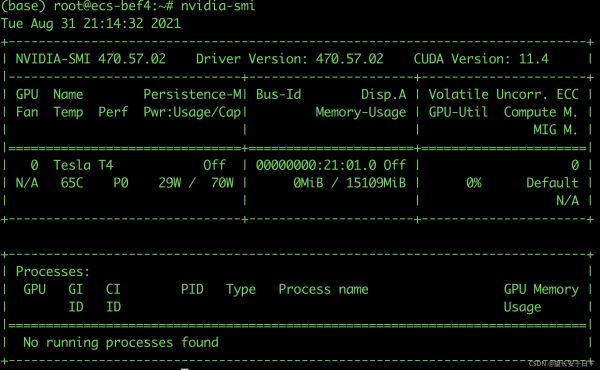
2.1 安装显卡驱动
3 安装cuda
官网链接
选择cuda版本,要和驱动的cuda版本一致
wget https://developer.nvidia.com/compute/cuda/10.0/Prod/local_installers/cuda_10.0.130_410.48_linux
sudo sh cuda_10.0.130_410.48_linux
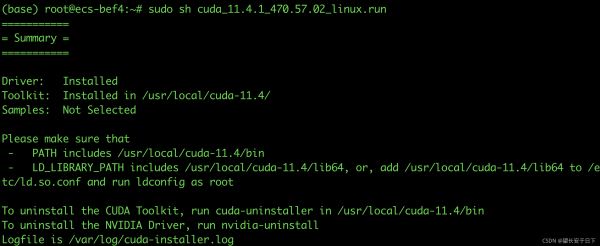
添加环境变量,将上图中的建议加到.bashrc文件中
Please make sure that
PATH includes /usr/local/cuda-11.4/bin
LD_LIBRARY_PATH includes /usr/local/cuda-11.4/lib64, or,
add /usr/local/cuda-11.4/lib64 to /etc/ld.so.conf and run ldconfig as root
vim ~/.bashrc
#添加路径
export PATH=$PATH:/usr/local/cuda-11.4/bin
export LD_LIBRARY_PATH=$LD_LIBRARY_PATH:/usr/local/cuda-11.4/lib64
#使环境生效
source ~/.bashrc
查看nvcc -V

cudatoolkit
sud【文章转自:韩国cn2服务器 转载请保留连接】o apt install nvidia-cuda-toolkit
4. 安装cudnn
安装cudnn
https://developer.nvidia.com/rdp/cudnn-download
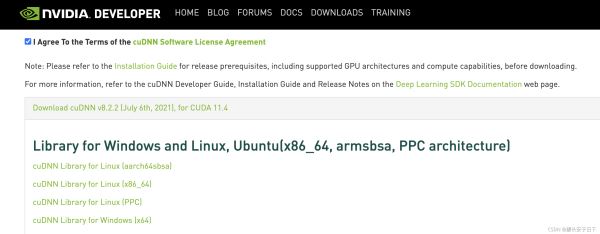
wget https://developer.download.nvidia.cn/compute/machine-learning/cudnn/secure/8.2.2/11.4_07062021/Ubuntu18_04-x64/libcudnn8_8.2.2.26-1%2Bcuda11.4_amd64.deb?aJLLhXbzztwE4iizwf68uvg1s73kk4KKBGqv6B0UkO9HhnOhOsGHlyo1Br5CWc0nAIJLmc6C5SkLYqbdQqdZBoAdcVQgBTmWKXJXigR7roUeXd0VIKUuM57UKWMp3BUQgr6SQ4kkGnRRtUJ5mJt
dpkg -i libcudnn8_8.2.2.26-1+cuda11.4_amd64.deb

5. 安装anaconda
wget https://mirror.tuna.tsinghua.edu.cn/anaconda/archive/Anaconda3-2021.05-Linux-x86_64.sh
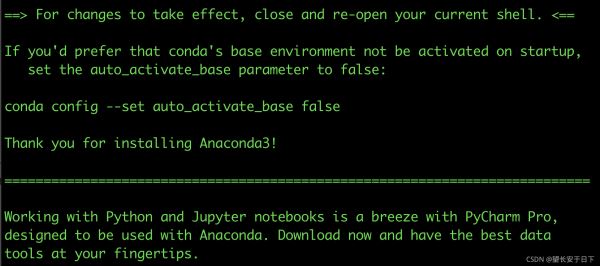
添加环境变量
vim ~/.bashrc
export PATH="/usr/local/anaconda3/bin:$PATH"
source ~/.bashrc

替换anaconda源
"""更换清华conda源"""
conda config --add channels https://mirrors.tuna.tsinghua.edu.cn/anaconda/pkgs/free/
conda config --add channels https://mirrors.tuna.tsinghua.edu.cn/anaconda/pkgs/main/
conda config --set show_channel_urls yes
conda config --add channels https://mirrors.tuna.tsinghua.edu.cn/anaconda/cloud/pytorch/
查看tensorflow版本
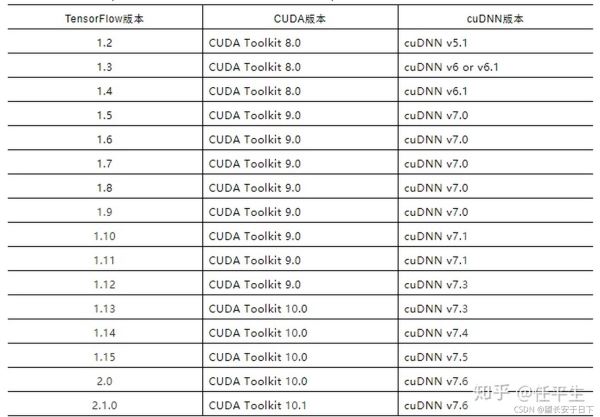
pip install tensorflow-gpu==2.2.0 -i https://pypi.tuna.tsinghua.edu.cn/simple
测试安装的tensorflow
import tensorflow as tf
print(tf.test.is_gpu_available())
tf.__version__
tf.__path__

上述报错原因是cuda版本太高了,要选择10.1版本

上述报错原因是cudnn版本太高了,要选择7.6.5版本
默认Python2调整为Python3
apt-get install python3.7
sudo update-alternatives --install /usr/bin/python python /usr/bin/python2 100
sudo update-alternatives --install /usr/bin/python python /usr/bin/python3 150
sudo apt install python3-pip
以上就是ubuntu安装显卡驱动和cuda教程的详细内容,更多关于ubuntu安装显卡驱动和cuda的资料请关注海外IDC网其它相关文章!
