c#多线程程序设计实例方法
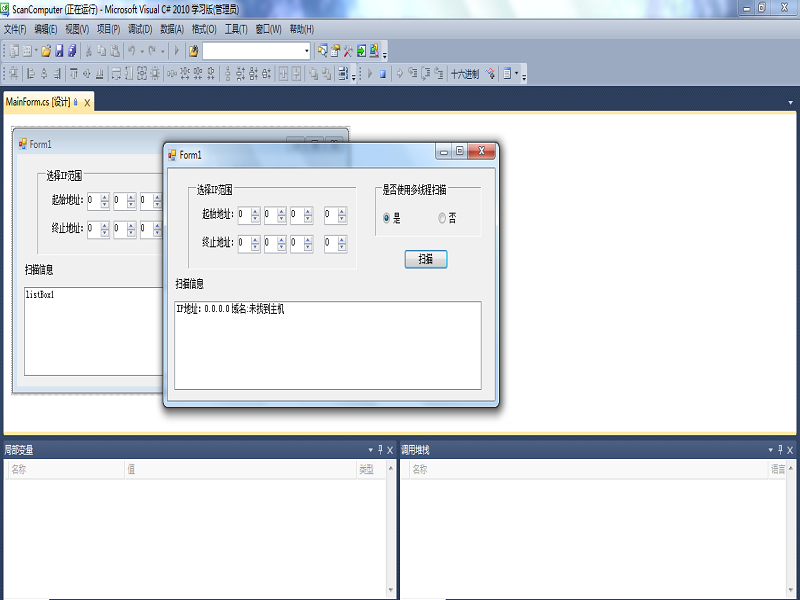
相信很多人都了解c#语言,但是对于c#语言编写应用程序的经验不够多,所以经常为没有实例练习而烦恼吧。今天小编给大家介绍下C#里的多线程技术。主要是让大家学会线程的创建和启动方法,理解在线程中如何通过委托和窗体控件交互,同时练习IPAddress类、Dns类、IPHostEntry类的基本用法。
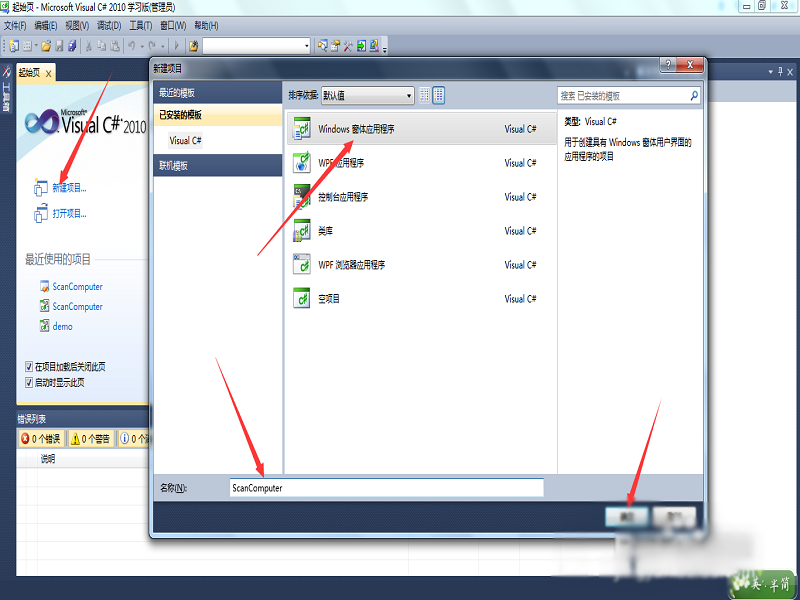
1、打开Microsoft Visual Studio 2010软件,选择新建项目,创建一个名叫ScanComputer的Windows窗体应用程序项目,(当然项目名大家可以自己任意取,这个对我们的实验没影响。)接着点击【确定】即可。
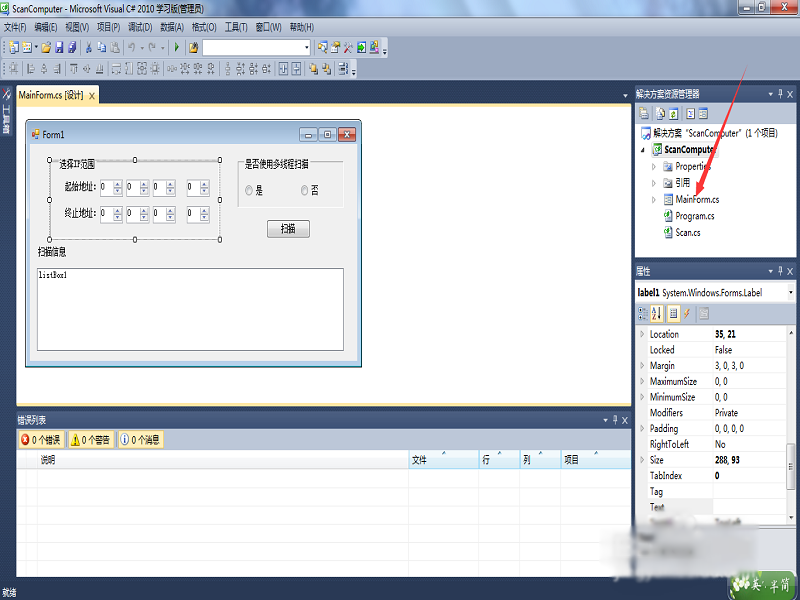
2、在【解决方案资源管理器】中,将Form1.cs改为MainForm.cs,然后从右侧工具栏中拖动控件到主窗体中,其中将Label1和Label2控件的【AutoSize】属性改为"False",【BorderStyle】属性改为“Fixed3D“,其他控件属性可以后面在设置。最后将界面设计成如下图所示。
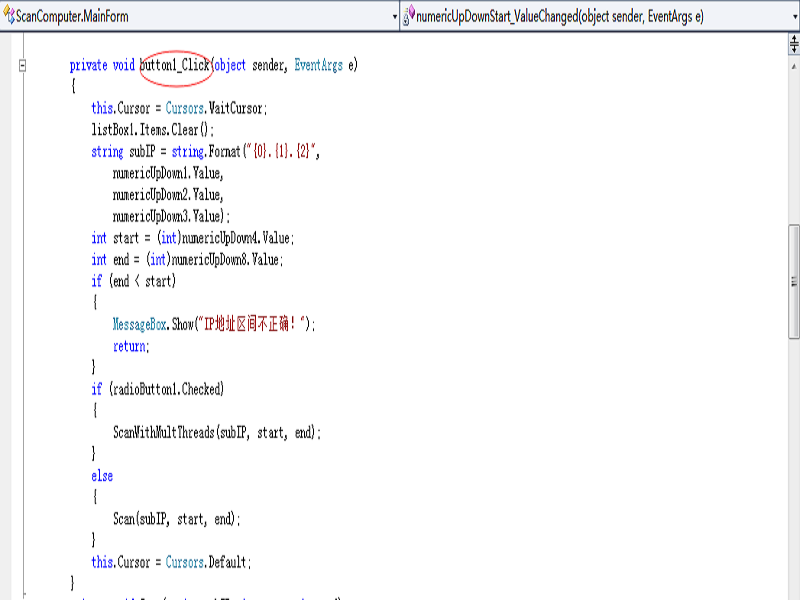
3、双击【扫描】按钮,让它自动创建Click事件,然后在【扫描】按钮的Click事件中,先判断IP地址范围是否符合要求,然后统计要扫描的IP的个数,执行扫描操作。并在【扫描】按钮创建Click的事件中添加如下代码:
private void button1_Click(object sender, EventArgs e)

    {

      this.Cursor = Cursors.WaitCursor;

      listBox1.Items.Clear();

      string subIP = string.Format("{0}.{1}.{2}",

        numericUpDown1.Value,

        numericUpDown2.Value,

        numericUpDown3.Value);

      int start = (int)numericUpDown4.Value;

      int end = (int)numericUpDown8.Value;

      if (end < start)

      {

        MessageBox.Show("IP地址区间不正确!"【原URL http://www.yidunidc.com/jap.html 请说明出处】);

        return;

      }

      if (radioButton1.Checked)

      {

        ScanWithMultThreads(subIP, start, end);

      }

      else

      {

        Scan(subIP, start, end);

      }

      this.Cursor = Cursors.Default;

    }
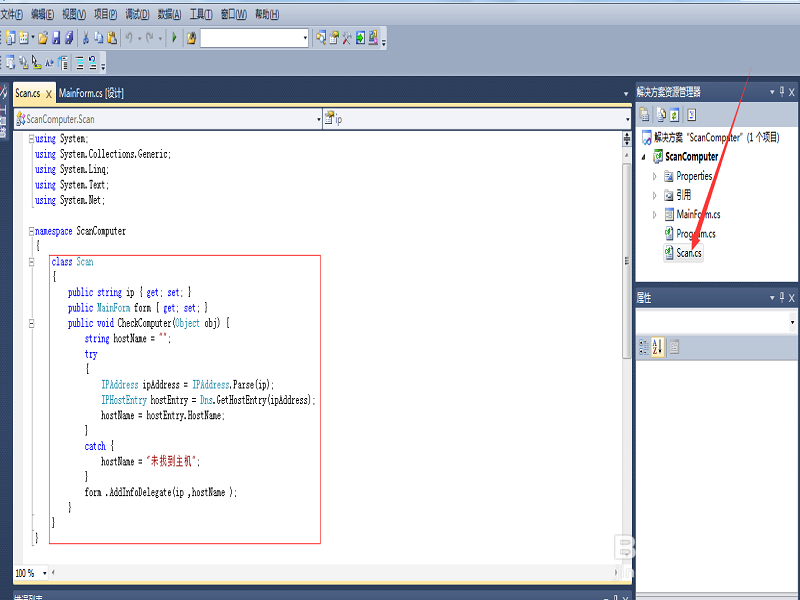
4、在【解决方案资源管理器】中,找到项目名“ScanComputer”并用鼠标右键单击它,会出现一个弹出框,在弹出框中选择【添加】会出现另一个弹出框,在弹出框中选择【类】,创建一个类文件San.cs,使用多线程执行扫描操作。并添加如下代码:
class Scan

  {

    public string ip { get; set; }

    public MainForm form { get; set; }

    public void CheckComputer(Object obj) {

      string hostName = "";

      try

      {

        IPAddress ipAddress = IPAddress.Parse(ip);

        IPHostEntry hostEntry = Dns.GetHostEntry(ipAddress);

        hostName = hostEntry.HostName;

      }

      catch {

        hostName = "未找到主机";

      }

      form .AddInfoDelegate(ip ,hostName );

    }

  }
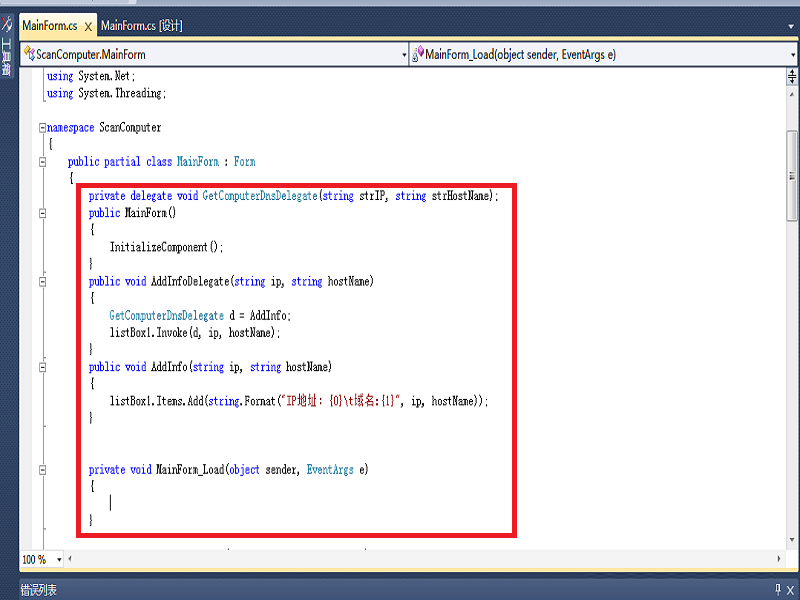
5、在MainForm.cs中添加如下代码,让线程通过委托和窗体控件进行交互,同时运用了Dns类:
private delegate void GetComputerDnsDelegate(string strIP, string strHostName);

    public MainForm()

    {

      InitializeComponent();

    }

    public void AddInfoDelegate(string ip, string hostName)

    {

      GetComputerDnsDelegate d = AddInfo;

      listBox1.Invoke(d, ip, hostName);

    }

    public void AddInfo(string ip, string hostName)

    {

      listBox1.Items.Add(string.Format("IP地址:{0}\t域名:{1}", ip, hostName));

    }
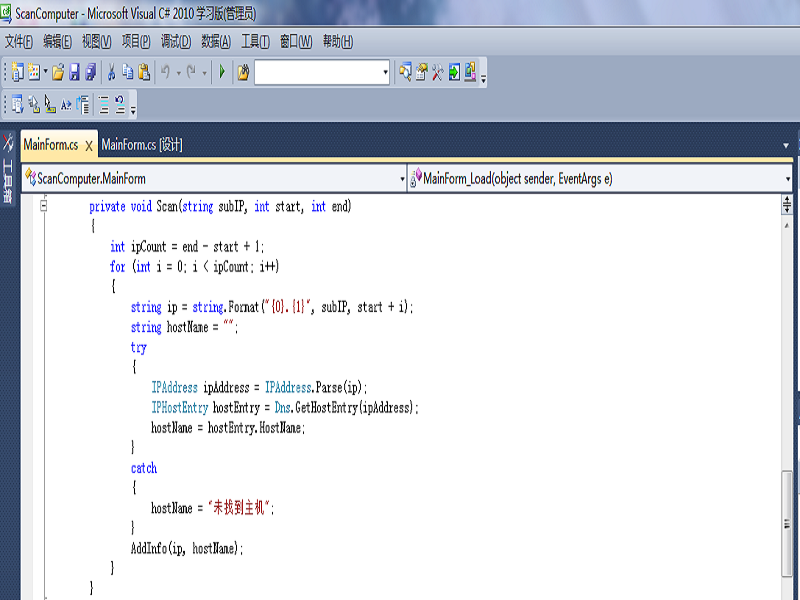
6、在MainForm.cs中添加如下代码,将Scan类和主窗体联系起来。同时运用了IPAddress类和IPHostEntry类。
private void Scan(string subIP, int start, int end)

    {

      int ipCount = end - start + 1;

      for (int i = 0; i < ipCount; i++)

      {

        string ip = string.Format("{0}.{1}", subIP, start + i);

        string hostName = "";

        try

        {

          IPAddress ipAddress = IPAddress.Parse(ip);

          IPHostEntry hostEntry = Dns.GetHostEntry(ipAddress);

          hostName = hostEntry.HostName;

        }

        catch

        {

          hostName = "未找到主机";

        }

        AddInfo(ip, hostName);

      }

    }
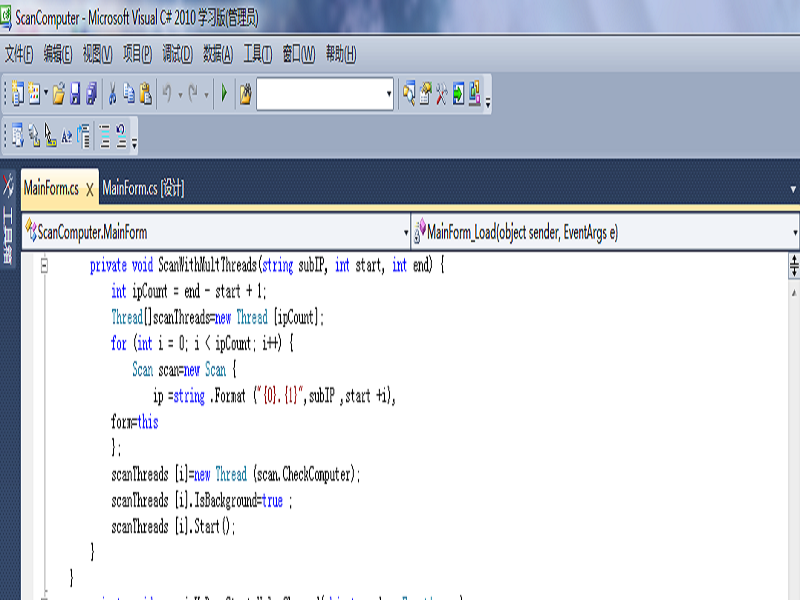
7、对IP地址开始时间和结束时间的定义:
private void ScanWithMultThreads(string subIP, int start, int end) {

      int ipCount = end - start + 1;

      Thread[]scanThreads=new Thread [ipCount];

      for (int i = 0; i < ipCount; i++) {

        Scan scan=new Scan {

          ip =string .Format ("{0}.{1}",subIP ,start +i),

      form=this

      };

      scanThreads [i]=new Thread (scan.CheckComputer);

      scanThreads [i].IsBackground=true ;

      scanThreads [i].Start();

    }

  }
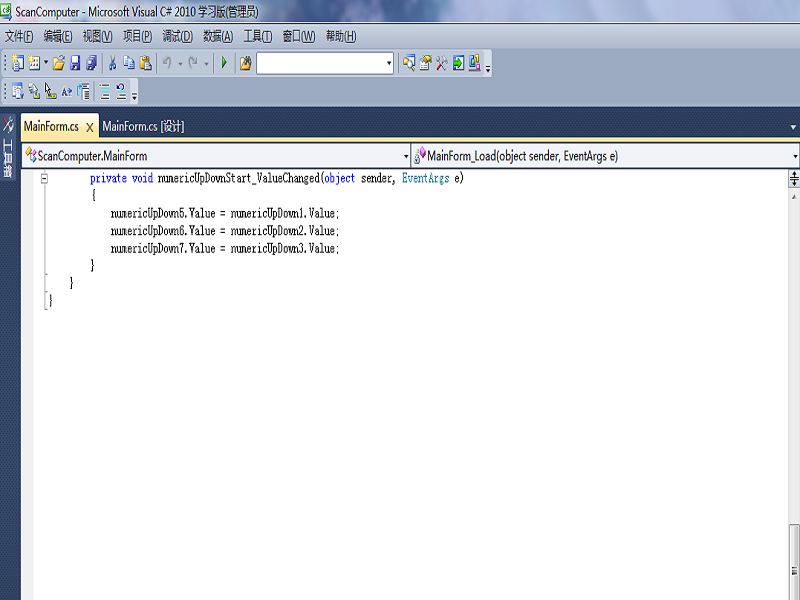
8、将下面代码添加到MainForm.cs,多线程应用程序就做好了
private void numericUpDownStart_ValueChanged(object sender, EventArgs e)

    {

      numericUpDown5.Value = numericUpDown1.Value;

      numericUpDown6.Value = numericUpDown2.Value;

      numericUpDown7.Value = numericUpDown3.Value;

    }
