使用flex布局轻松实现页面布局的示例代码
废话不多说,直接上代码:
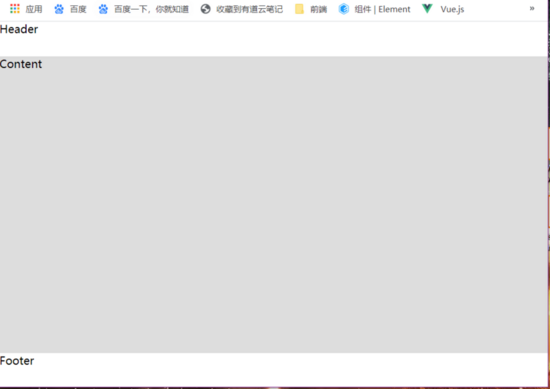
1、上中下布局:
<!DOCTYPE html>

    <html lang="en">
    <head>
     <meta charset="UTF-8">
     <meta name="viewport" content="width=device-width, initial-scale=1.0">
     <title>Document</title>
     <style>
     body {
     position: absolute;
     left: 0; right: 0; top: 0; bottom: 0;
     padding: 0; margin: 0;
     display: flex;
     flex-direction: column;
     }
     .header, .footer {
     height: 50px;
     }
     .body {
     flex-grow: 1;
     background-color: #DDD;
     }
     </style>
    </head>
    <body>
     <div class="header">Header</div>
     <div class="body">Content</div>
     <div class="footer">Footer</div>
    </body>
    </html>
显示效果如下:

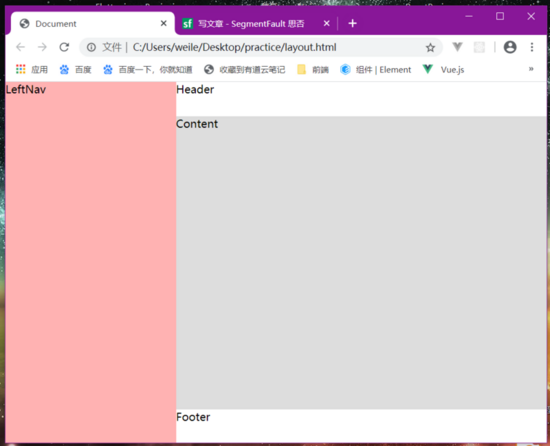
2、左右布局:
    <!DOCTYPE html>
    <html lang="en">
    <head>
     <meta charset="UTF-8">
     <meta name="viewport" content="width=device-width, initial-scale=1.0">
     <title>Document</title>
     <style>
     body {
     position: absolute;
     left: 0; right: 0; top: 0; bottom: 0;
     padding: 0; margin: 0;
     display: flex;
     }
     .left, .right {
     height: 100%;
     }
     .left {
     width: 250px;
     background-color: rgba(255,0,0,0.3);
     }
     .right {
     display: flex;
     flex-direction: column;
     }
     .header, .footer {
     height: 50px;
     }
     .right, .content {
     flex-grow: 1;
     }
     .content {
     background-color: #DDD;
     }
     </style>
    </head>
    <body>
     <div class="left">LeftNav</div>
     <div class="right">
     <div class="header">Header</div>
     <div class="content">Content</div>
     <div class="footer">Footer</div>
     </div>
    </body>
    </html>
页面的效果如下:

下面对几个关键的样式加以说明,这样就可以设计出任何想要的布局了:
flex-grow: 1; // 表示容器在主轴的宽度有多余时该子项【本文由:http://www.yidunidc.com/mgzq.html复制请保留原URL】占据剩余空间
position:absolute; left: 0;right: 0; top: 0; bottom: 0; // 这一组样式让该元素占满定位的父级元素
到此这篇关于使用flex布局轻松实现页面布局的示例代码的文章就介绍到这了,更多相关flex页面布局内容请搜索海外IDC网以前的文章或继续浏览下面的相关文章,希望大家以后多多支持海外IDC网!
【来源:美国cn2服务器 转载请说明出处】