Python+OpenCV六种实时图像处理详细讲解
目录
- 1、导入库文件
- 2、设计GUI
- 3、调用摄像头
- 4、实时图像处理
- 4.1、阈值二值化
- 4.2、边缘检测
- 4.3、轮廓检测
- 4.4、高斯滤波
- 4.5、色彩转换
- 4.6、调节对比度
- 5、退出系统
初学OpenCV图像处理的小伙伴肯定对什么高斯函数、滤波处理、阈值二值化等特性非常头疼,这里给各位分享一个小项目,可通过摄像头实时动态查看各类图像处理的特点,也可对各位调参、测试有一定帮助。
1、导入库文件
这里主要使用PySimpleGUI、cv2和numpy库文件,PySimpleGUI库文件实现GUI可视化,cv2库文件是Python的OpenCV接口文件,numpy库文件实现数值的转换和运算,均可通过pip导入。
import PySimpleGUI as sg  #pip install pysimplegui
import cv2  #pip install opencv-python
import numpy as np #pip install numpy
2、设计GUI
基于PySimpleGUI库文件实现GUI设计,本项目界面设计较为简单,设计800X400尺寸大小的框图,浅绿色背景,主要由摄像头界面区域和控制按钮区域两部分组成。效果如下所示:
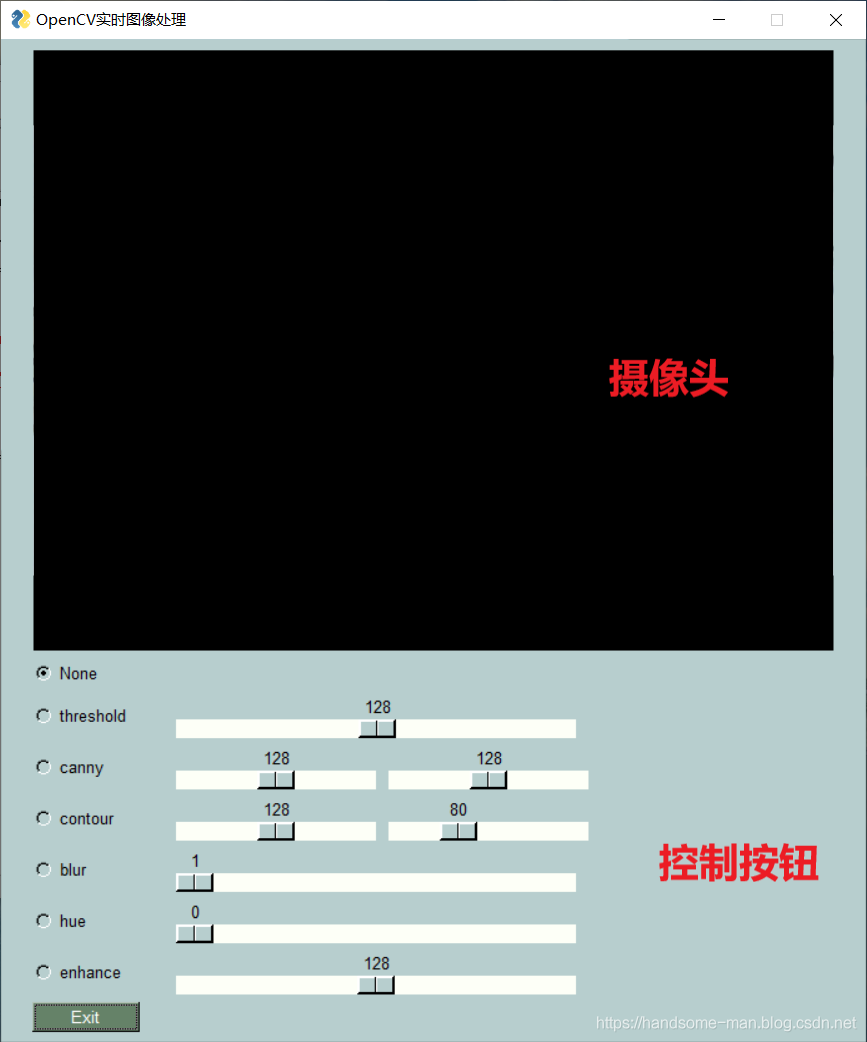
GUI代码如下所示:
    #背景色
    sg.theme('LightGreen')

    #定义窗口布局
    layout = [
      [sg.Image(filename='', key='image')],
      [sg.Radio('None', 'Radio', True, size=(10, 1))],
      [sg.Radio('threshold', 'Radio', size=(10, 1), key='thresh'),
       sg.Slider((0, 255), 128, 1, orientation='h', size=(40, 15), key='thresh_slider')],
      [sg.Radio('canny', 'Radio', size=(10, 1), key='canny'),
       sg.Slider((0, 255), 128, 1, orientation='h', size=(20, 15), key='canny_slider_a'),
       sg.Slider((0, 255), 128, 1, orientation='h', size=(20, 15), key='canny_slider_b')],
      [sg.Radio('contour', 'Radio', size=(10, 1), key='contour'),
       sg.Slider((0, 255), 128, 1, orientation='h', size=(20, 15), key='contour_slider'),
       sg.Slider((0, 255), 80, 1, orientation='h', size=(20, 15), key='base_slider')],
      [sg.Radio('blur', 'Radio', size=(10, 1), key='blur'),
       sg.Slider((1, 11), 1, 1, orientation='h', size=(40, 15), key='blur_slider')],
      [sg.Radio('hue', 'Radio', size=(10, 1), key='hue'),
       sg.Slider((0, 225), 0, 1, orientation='h', size=(40, 15), key='hue_slider')],
      [sg.Radio('enhance', 'Radio', size=(10, 1), key='enhance'),
       sg.Slider((1, 255), 128, 1, orientation='h', size=(40, 15), key='enhance_slider')],
      [sg.Button('Exit', size=(10, 1))]
    ]

    #窗口设计
    window = sg.Window('OpenCV实时图像处理',
               layout,
               location=(800, 400),
               finalize=True)
3、调用摄像头
打开电脑内置摄像头,将数据显示在GUI界面上,效果如下所示:
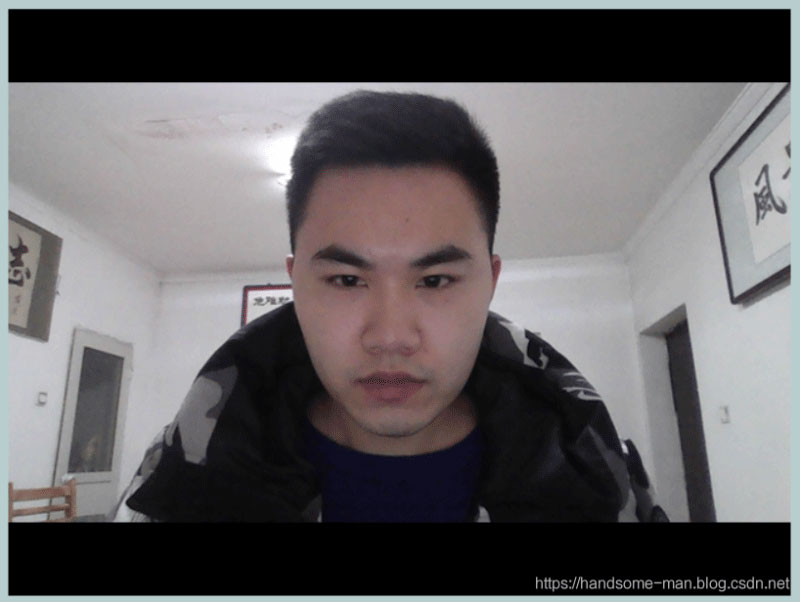
代码如下所示:
    #打开内置摄像头
    cap = cv2.VideoCapture(0)
    while True:
        event, values = window.read(timeout=0, timeout_key='timeout')

        #实时读取图像
        ret, frame = cap.read()

        #GUI实时更新
        imgbytes = cv2.imencode('.png', frame)[1].tobytes()
        window['image'].update(data=imgbytes)

    window.close()
4、实时图像处理
4.1、阈值二值化
进行阈值二值化操作,大于阈值values['thresh_slider']的,使用255表示,小于阈值values['thresh_slider']的,使用0表示,效果如下所示:

代码如下所示:
if values['thresh']:
    frame = cv2.cvtColor(frame, cv2.COLOR_BGR2LAB)[:, :, 0]
    frame = cv2.threshold(frame, values['thresh_slider'], 255, cv2.THRESH_BINARY)[1]
4.2、边缘检测
进行边缘检测,values['canny_slider_a']表示最小阈值,values['canny_slider_b']表示最大阈值,效果如下所示:
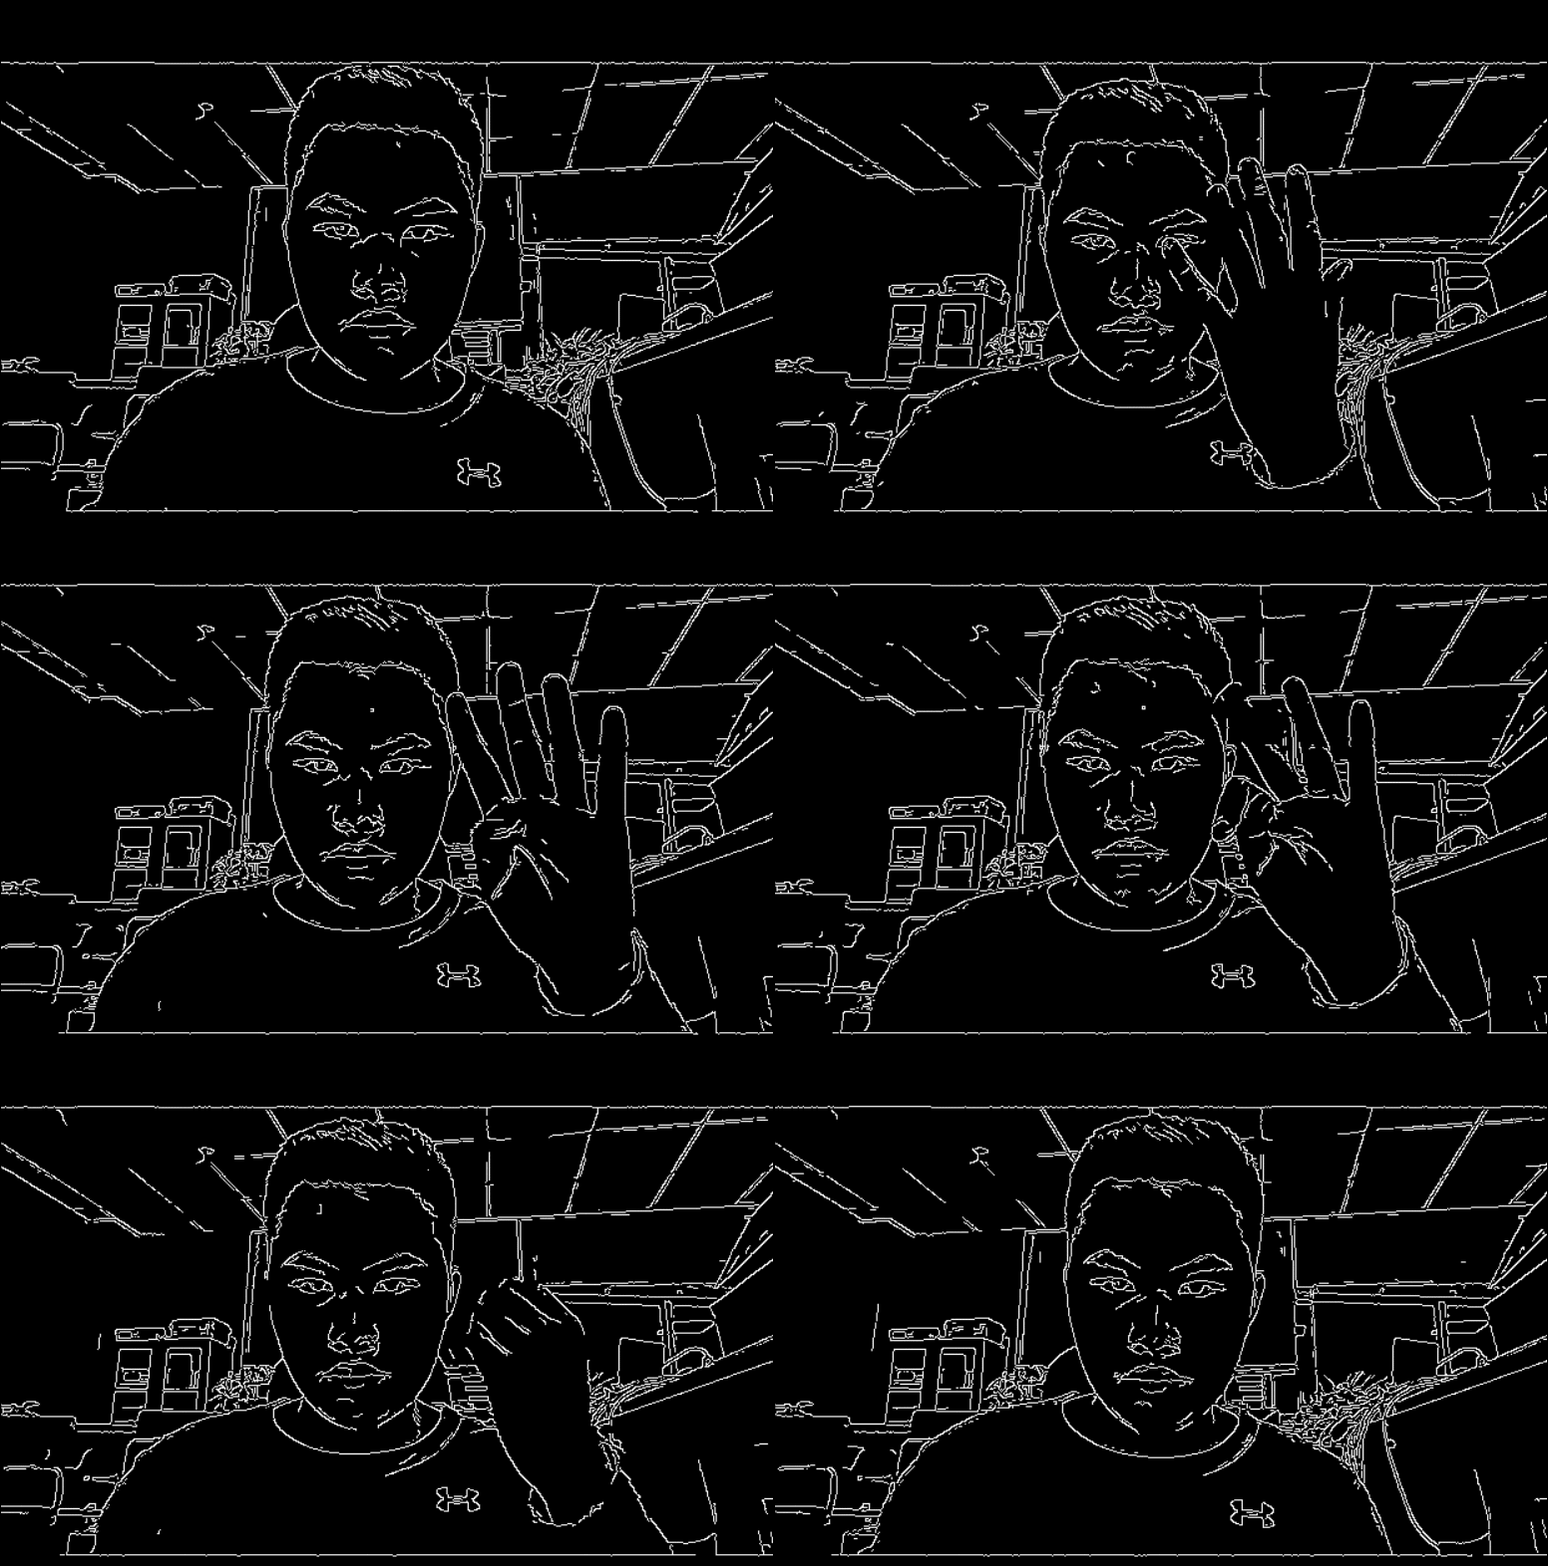
代码如下所示:
if values['canny']:
    frame = cv2.Canny(frame, values['canny_slider_a'], values['canny_slider_b'])
4.3、轮廓检测
轮廓检测是形状分析和物体检测和识别的有用工具,连接所有连续点(沿着边界)的曲线,具有相同的颜色或强度,效果如下所示:
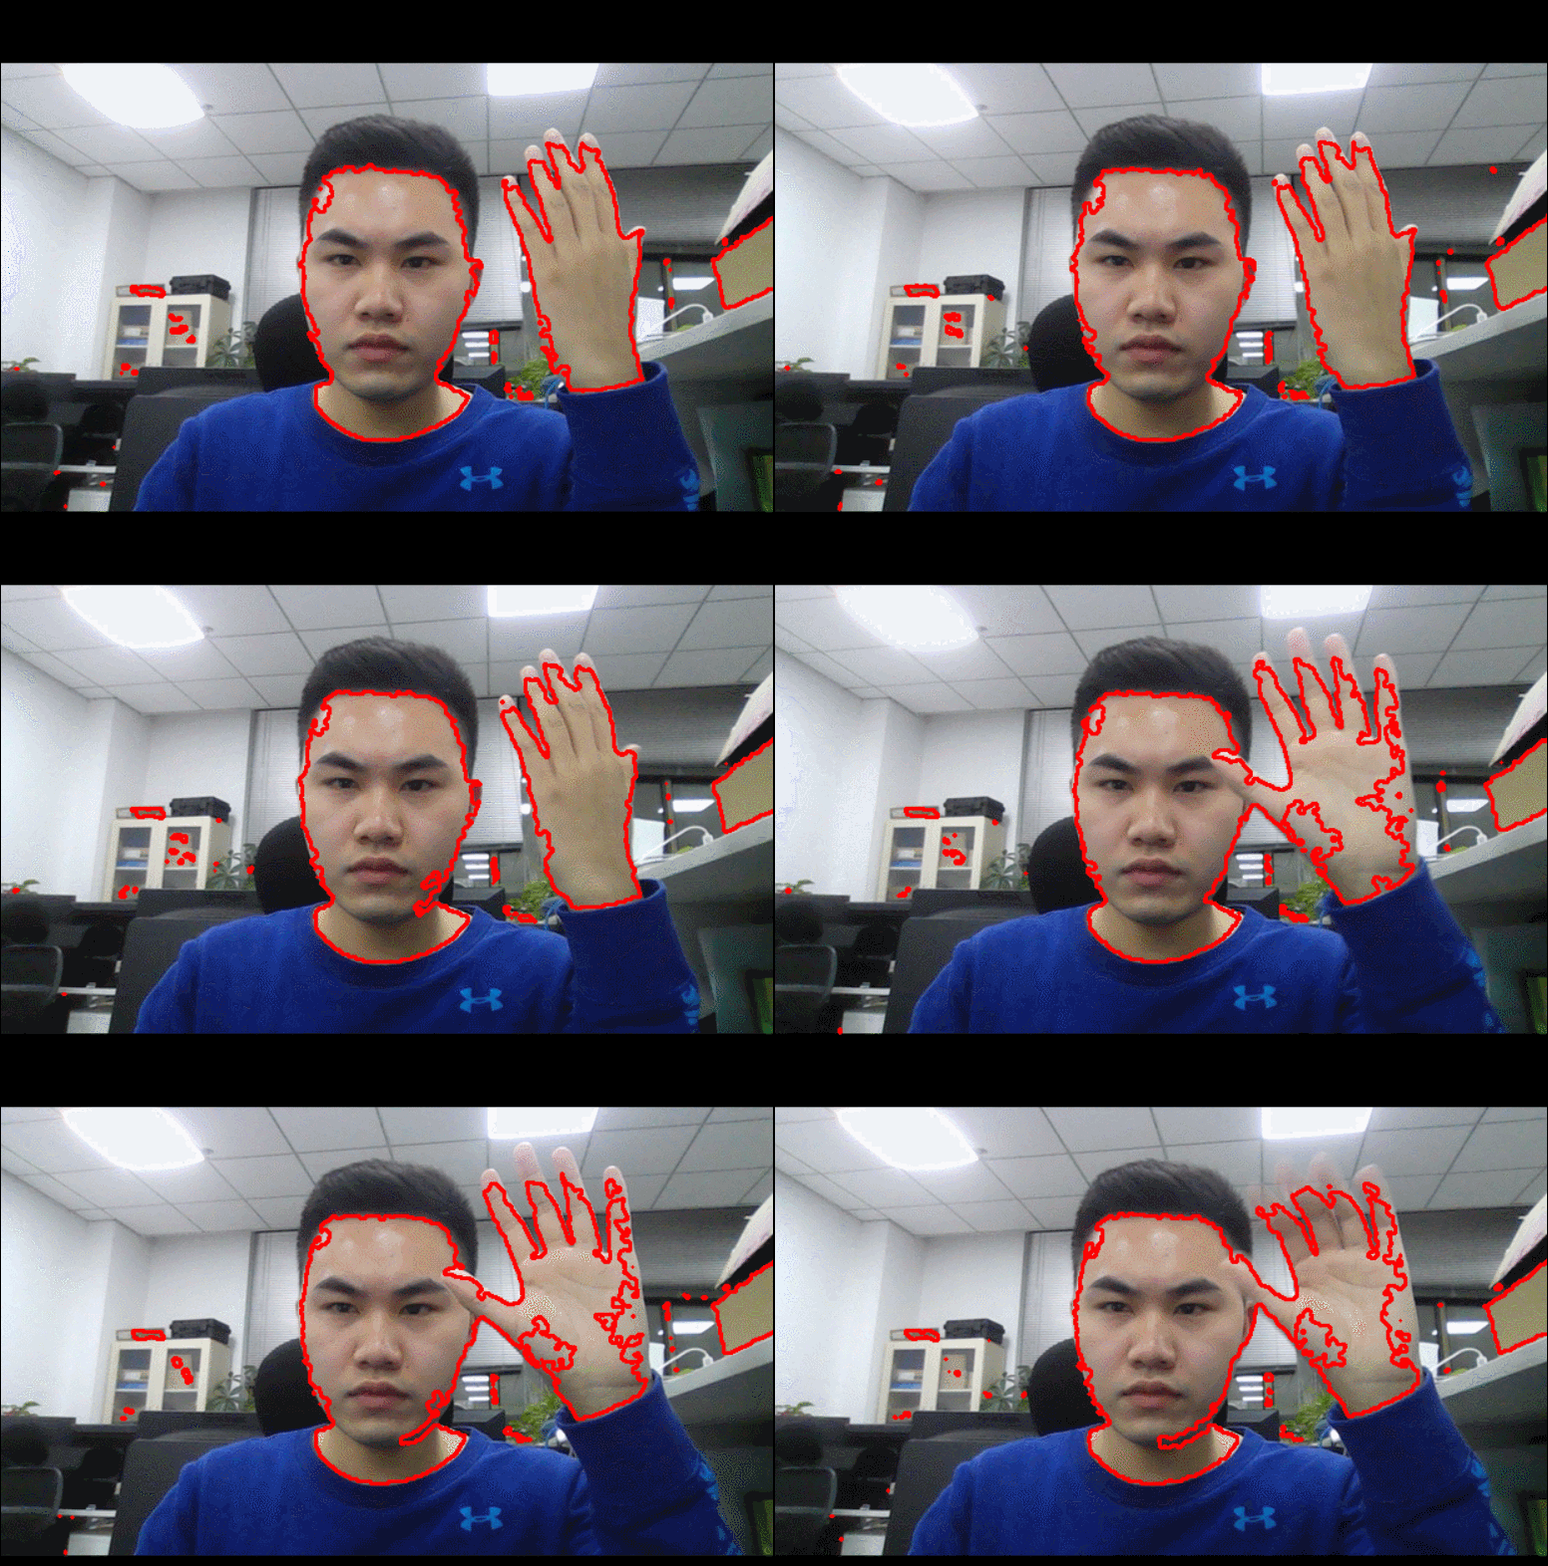
代码如下所示:
if values['contour']:
    hue = cv2.cvtColor(frame, cv2.COLOR_BGR2HSV)
    hue = cv2.GaussianBlur(hue, (21, 21), 1)
    hue = cv2.inRange(hue, np.array([values['contour_slider'], values['base_slider'], 40]),
                      np.array([values['contour_slider'] + 30, 255, 220]))
    cnts= cv2.findContours(hue, cv2.RETR_EXTERNAL, cv2.CHAIN_APPROX_SIMPLE)[0]
    cv2.drawContours(frame, cnts, -1, (0, 0, 255), 2)
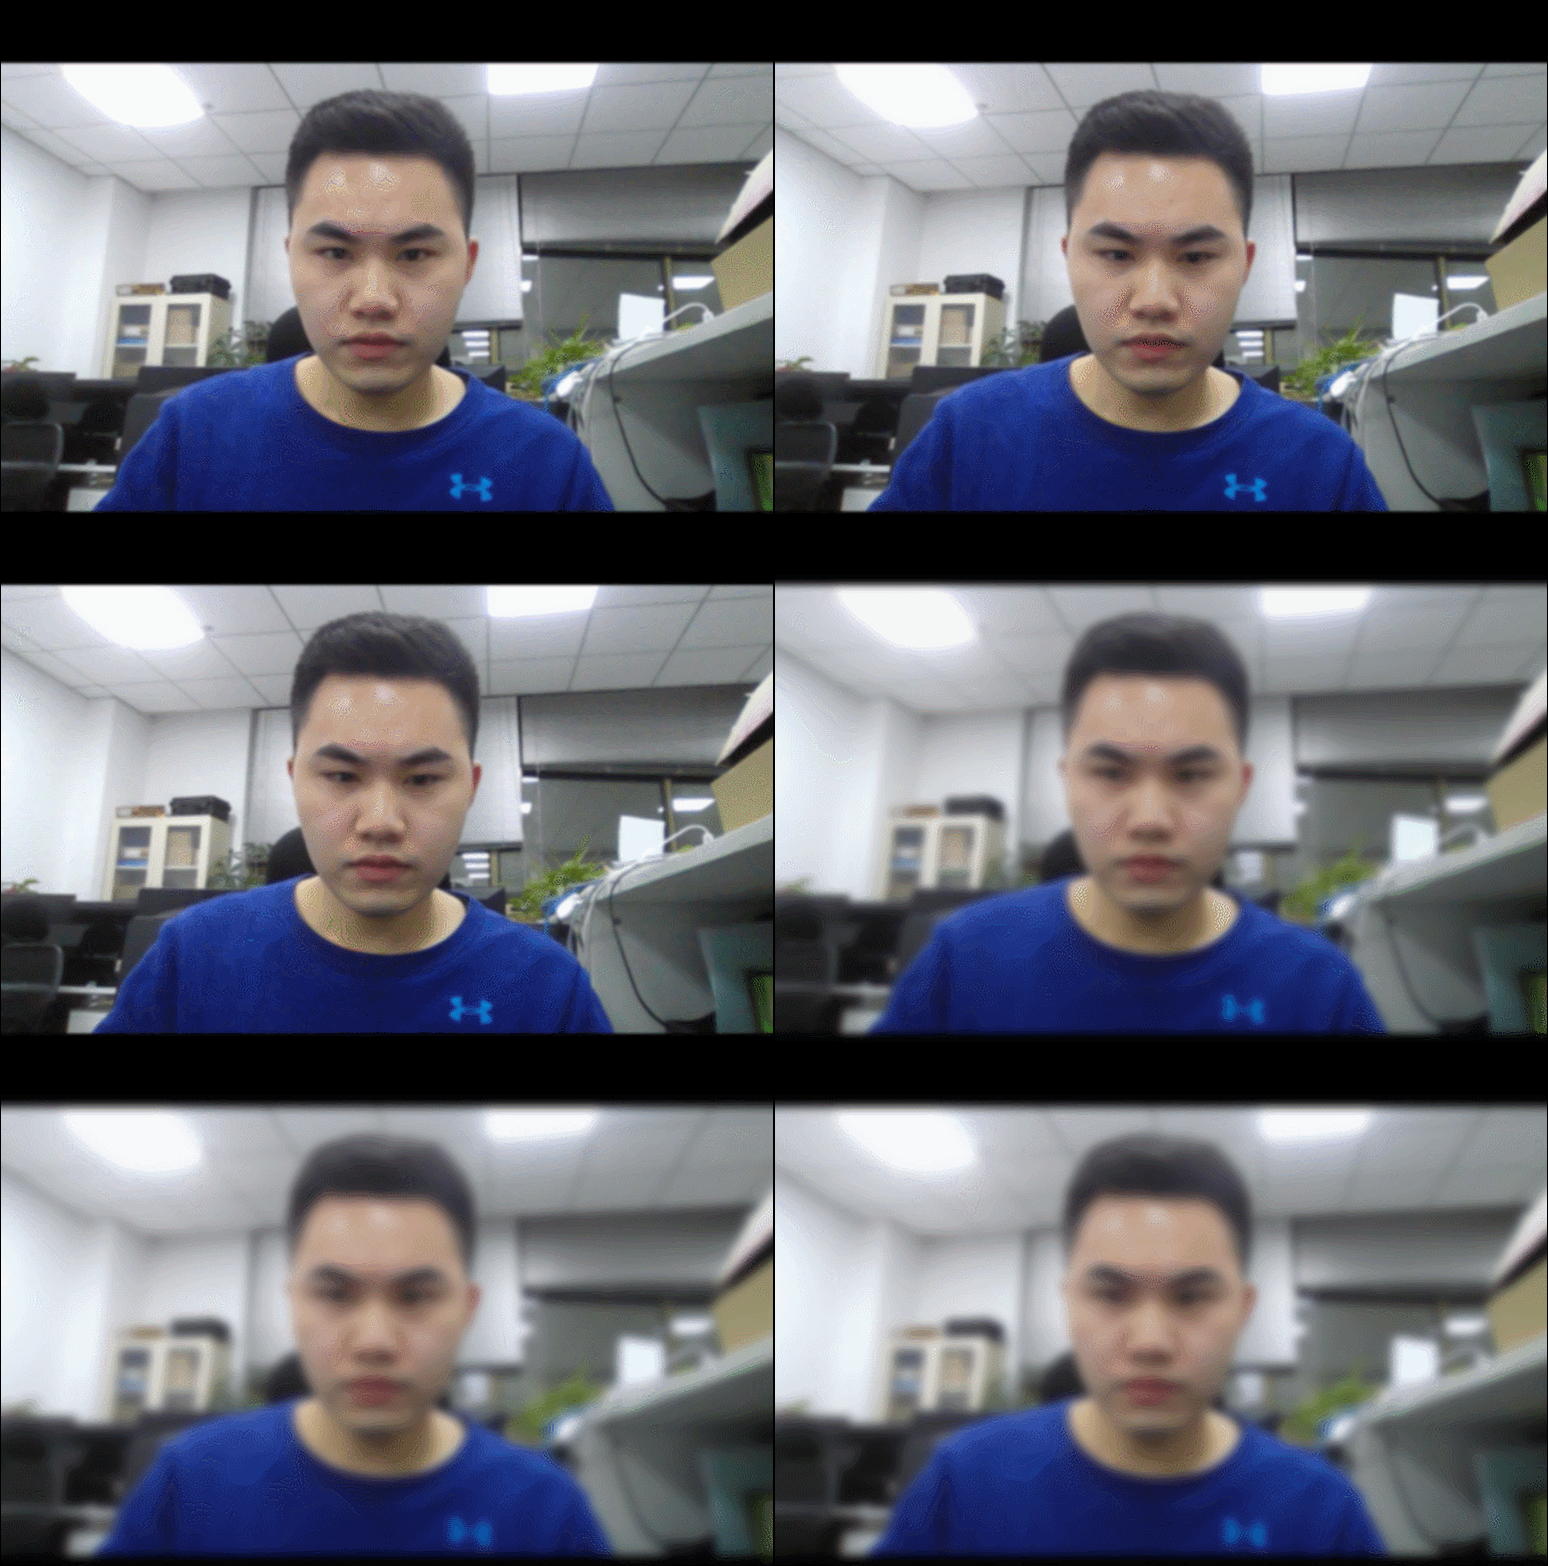
4.4、高斯滤波
进行高斯滤波,(21, 21)表示高斯矩阵的长与宽都是21,标准差取values['blur_slider'],效果如下所示:
代码如下所示:
if values['blur']:
    frame = cv2.GaussianBlur(frame, (21, 21), values['blur_slider'])
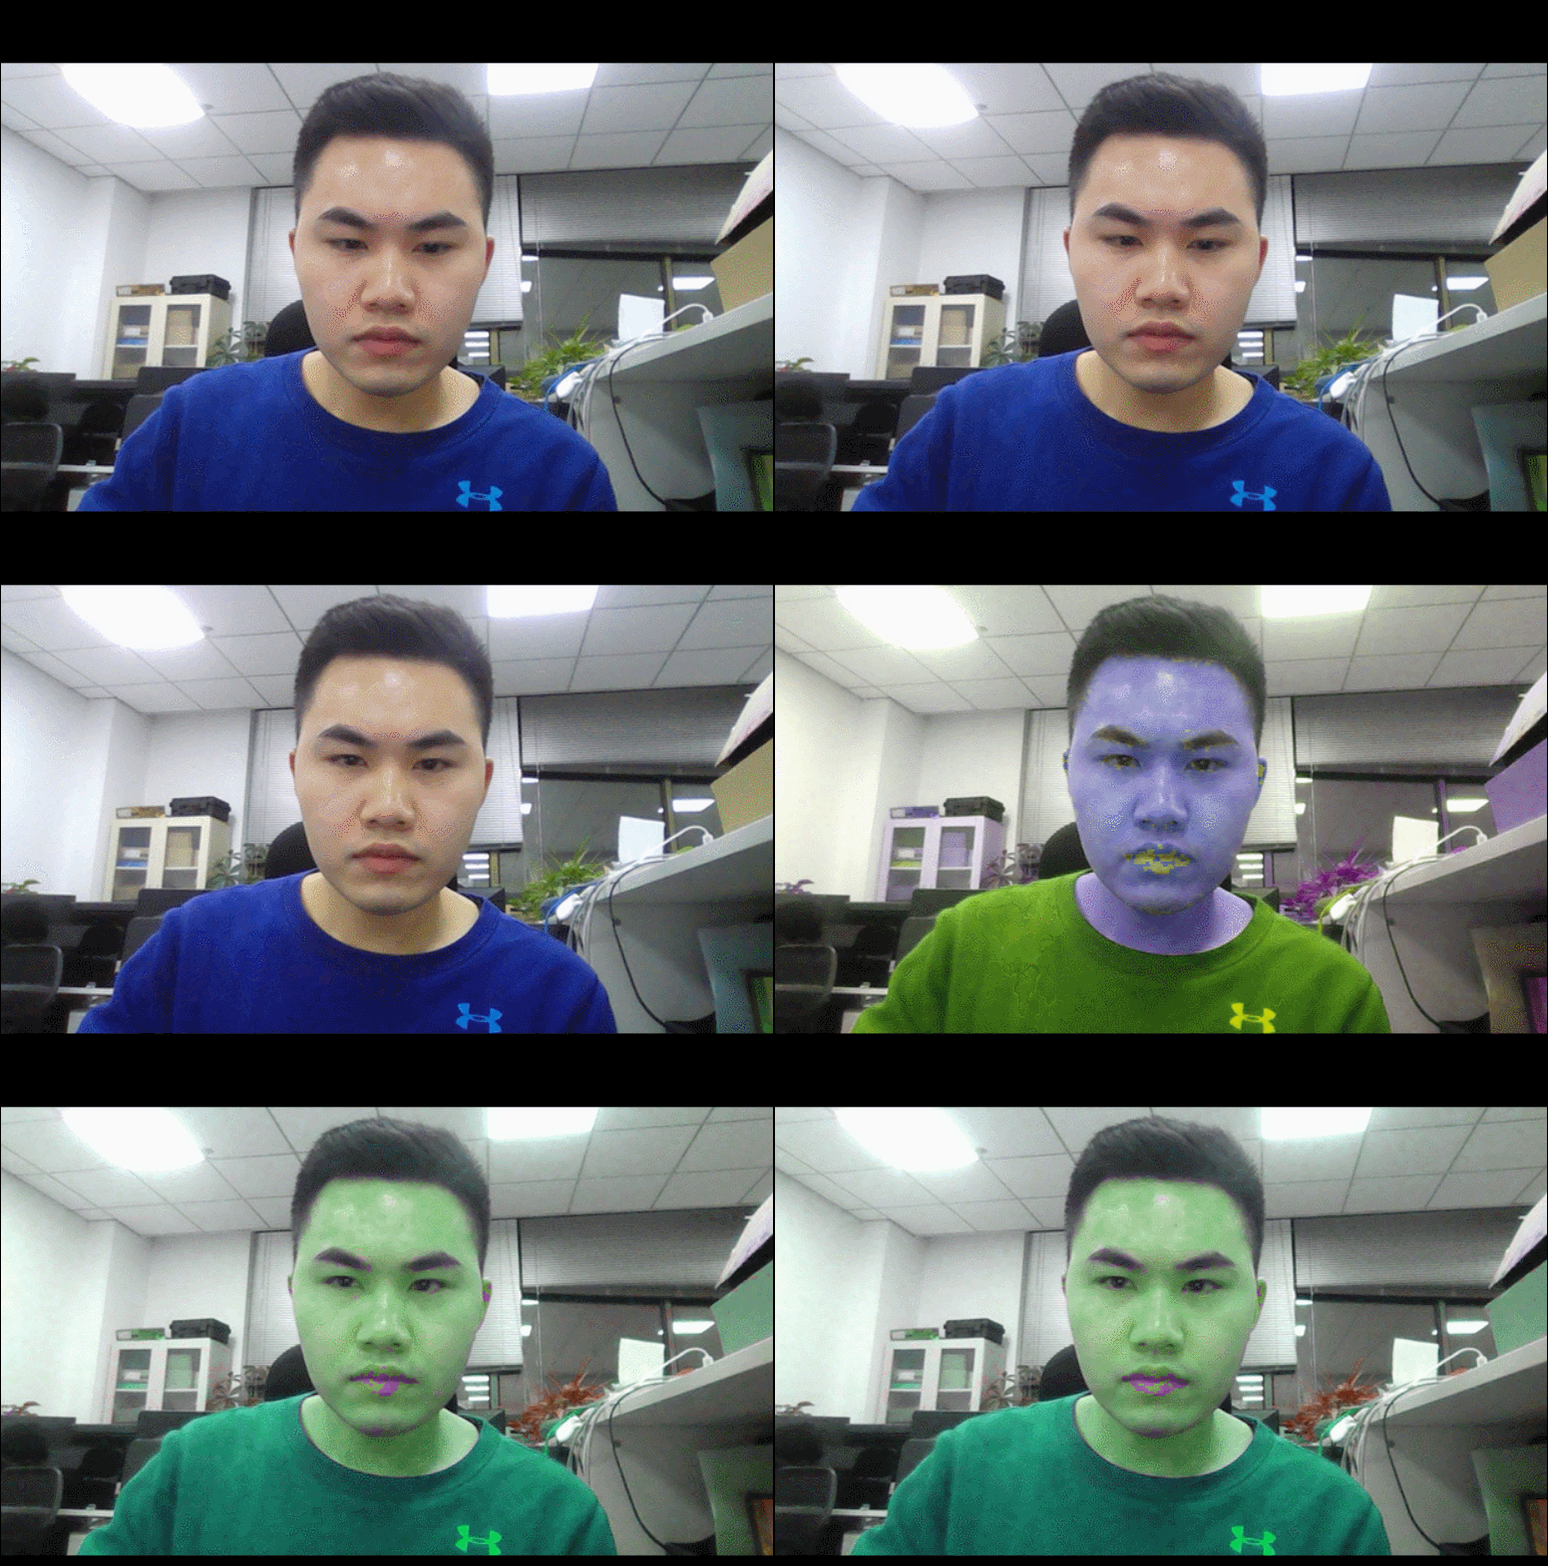
4.5、色彩转换
色彩空间的转化,HSV转换为BGR,效果如下所示:
代码如下所示:
if values['hue']:
    frame = cv2.cvtColor(frame, cv2.COLOR_BGR2HSV)
    frame[:, :, 0] += int(values['hue_slider'])
    frame = cv2.cvtColor(frame, cv2.COLOR_HSV2BGR)
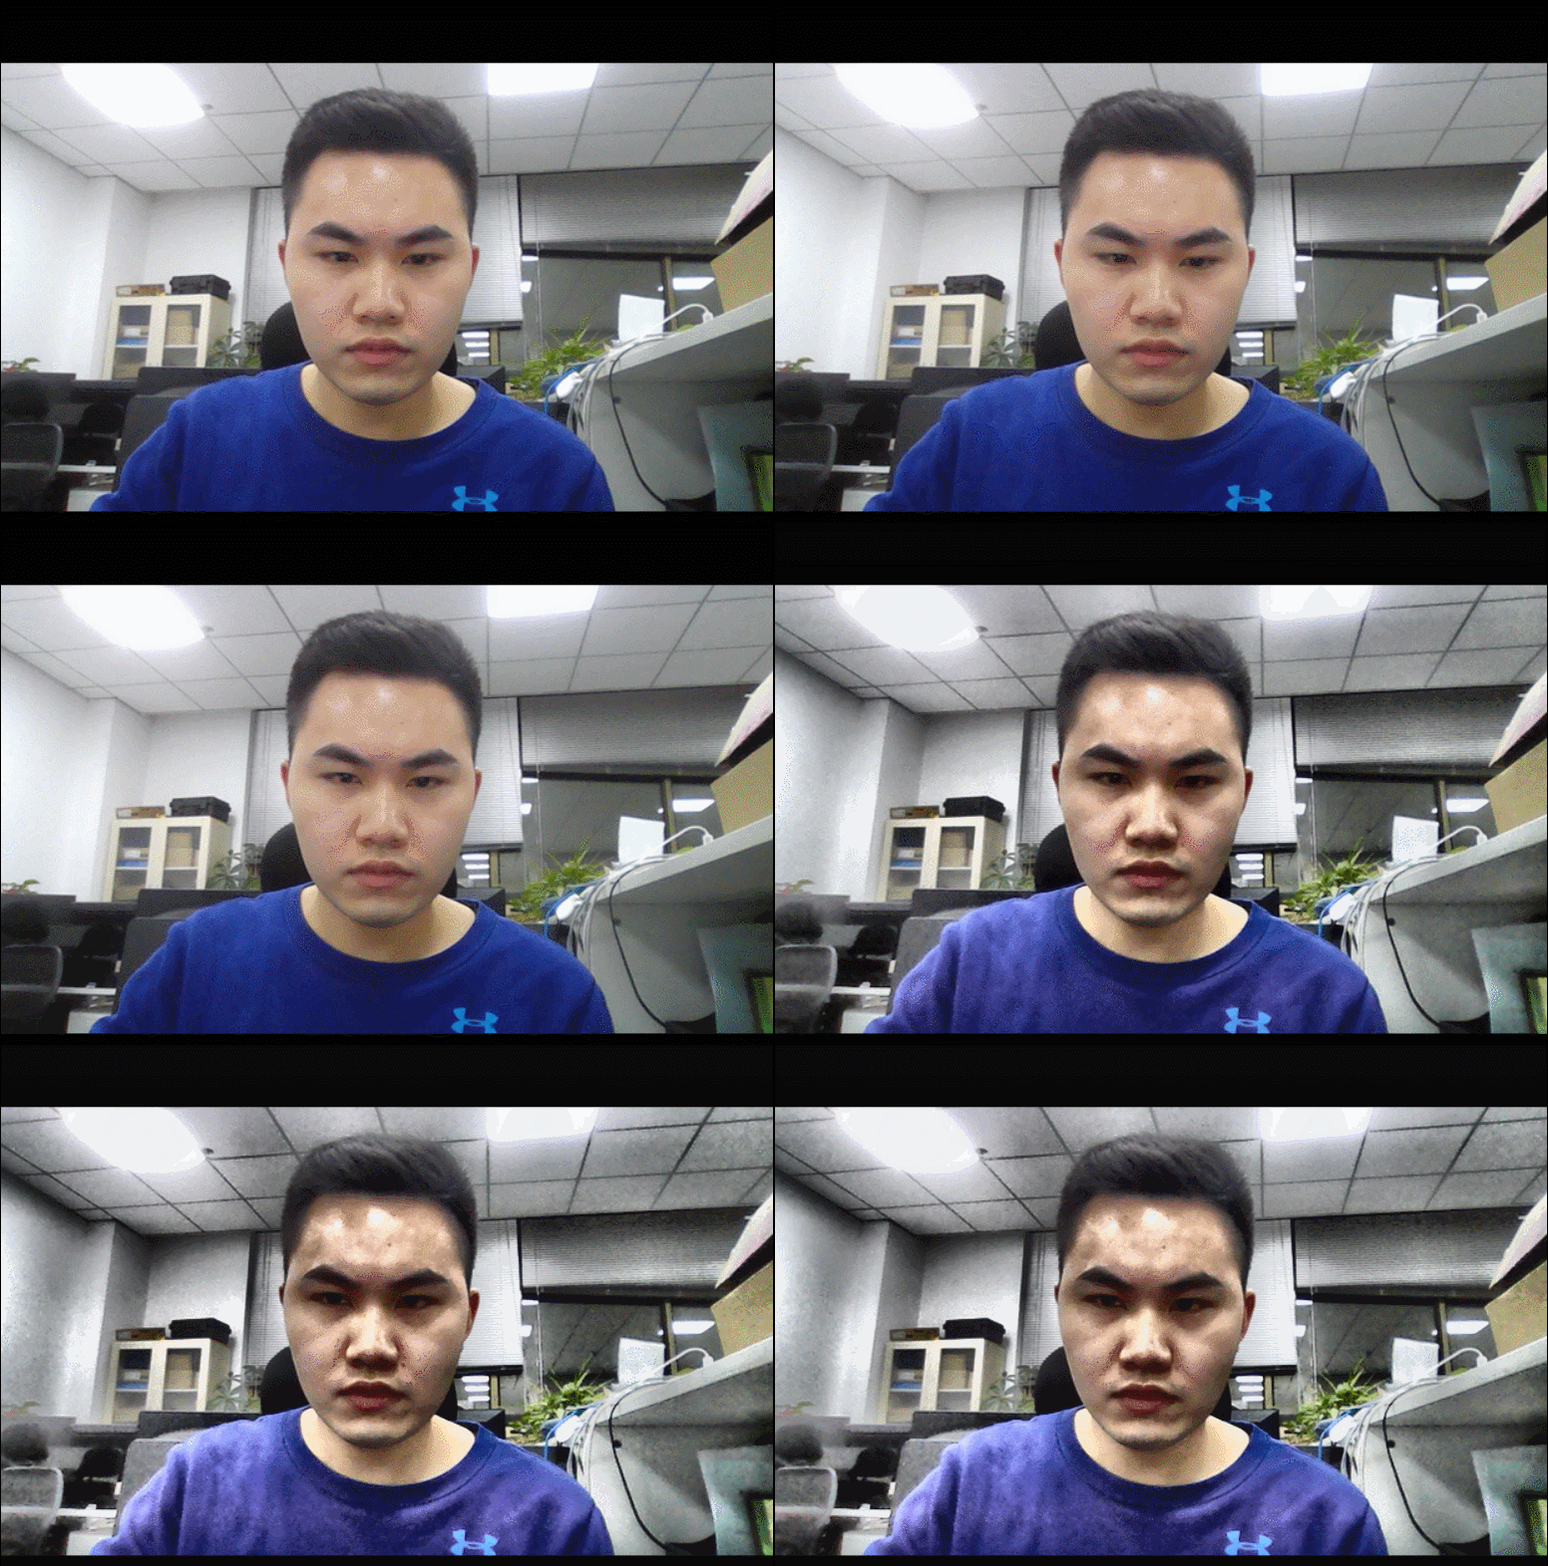
4.6、调节对比度
增强对比度,使图像中的细节看起来更加清晰,效果如下所示:
代码如下所示:
if values['enhance']:
    enh_val = values['enhance_slider'] / 40
    clahe = cv2.createCLAHE(clipLimit=enh_val, tileGridSize=(8, 8))
    lab = cv2.cvtColor(frame, cv2.COLOR_BGR2LAB)
    lab[:, :, 0] = clahe.apply(lab[:, :, 0])
    frame = cv2.cvtColor(lab, cv2.COLOR_LAB2BGR)
5、退出系统
直接break即可跳出循环。
if event == 'Exit' or event is None:
    break
以上就是Python+OpenCV六种实时图像处理详细讲解的详细内容,更多关于Python+OpenCV实时图像处理的资料请关注hwidc其它相关文章!
【自由互联:韩国服务器 转载请保留连接】