Java SpringBoot安全框架整合Spring Security详解
目录
- 1.工业级安全框架介绍
- 2.建议搭建Spring Security环境
- 2.1在pom.xml中添加相关依赖
- 2.2创建Handler类
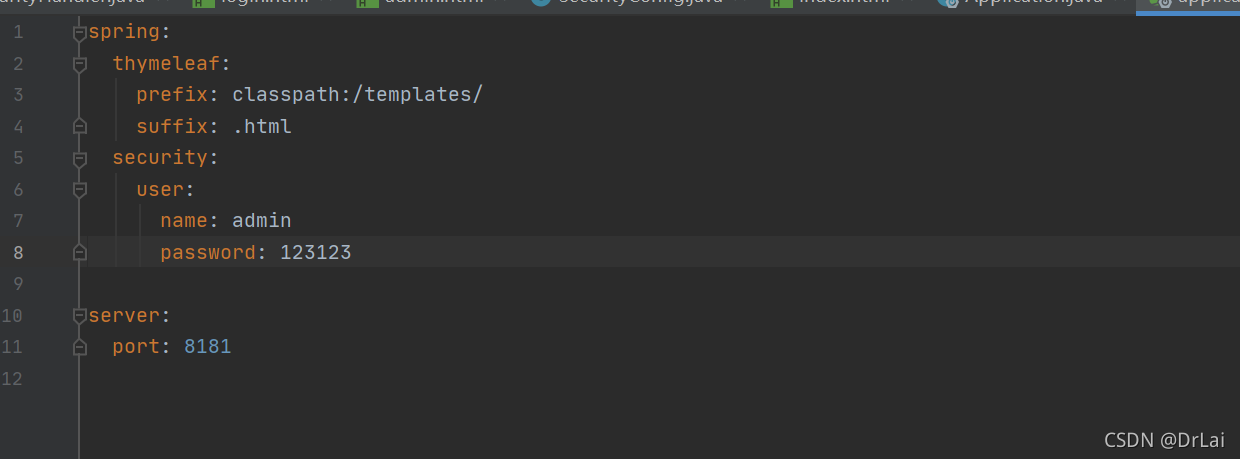
- 2.3创建简单的html和配置相关thymeleaf的路径
- 2.4最后再加个启动类,那么我们的整合测试就完成勒
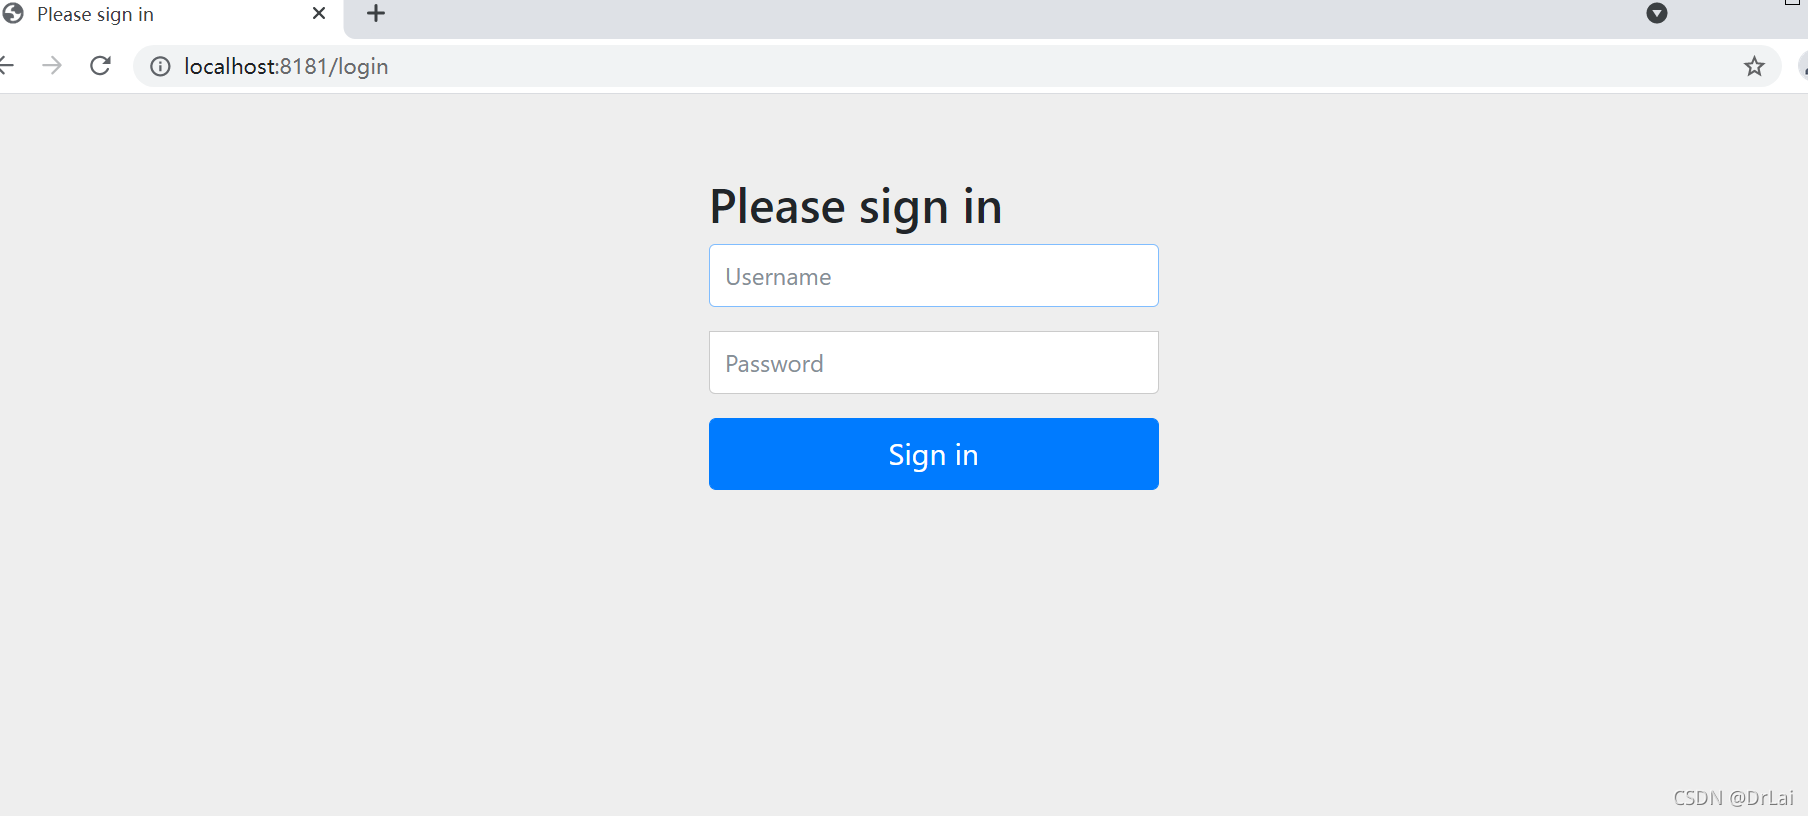
- 2.5成果展示 用户名默认user,密码则随机生成的这串数字
- 3.进阶版使用
- 3.1用户名和密码自定义
- 3.2在config包下创建Encoder
- 3.3赋予账号角色权限
- 总结
1.工业级安全框架介绍
Spring Security基于Spring开发,项目中如果使用Spring作为基础,配合Spring Security做权限更加方便,而Shiro需要和Spring进行整合开发。因此作为spring全家桶中的Spring Security在java领域很常用。
2.建议搭建Spring Security环境
2.1在pom.xml中添加相关依赖
<?xml version="1.0" encoding="UTF-8"?>
<project xmlns="http://maven.apache.org/POM/4.0.0"
         xmlns:xsi="http://www.w3.org/2001/XMLSchema-instance"
         xsi:schemaLocation="http://maven.apache.org/POM/4.0.0 http://maven.apache.org/xsd/maven-4.0.0.xsd">
    <modelVersion>4.0.0</modelVersion>
    <groupId>org.example</groupId>
    <artifactId>springsecurityReview</artifactId>
    <version>1.0-SNAPSHOT</version>
    <parent>
        <artifactId>spring-boot-dependencies</artifactId>
        <groupId>org.springframework.boot</groupId>
        <version>2.5.4</version>
    </parent>
    <dependencies>
        <dependency>
            <groupId>org.springframework.boot</groupId>
            <artifactId>spring-boot-starter-web</artifactId>
        </dependency>
        <dependency>
            <groupId>org.springframework.boot</groupId>
            <artifactId>spring-boot-starter-security</artifactId>
        </dependency>
        <dependency>
            <groupId>org.springframework.boot</groupId>
            <artifactId>spring-boot-starter-thymeleaf</artifactId>
        </dependency>
    </dependencies>
</project>
2.2创建Handler类
package com.example.controller;
import org.springframework.stereotype.Controller;
import org.springframework.web.bind.annotation.GetMapping;
@Controller
public class Handler {
    @GetMapping("/index")
    public String index(){
        return "index";
    }
}
2.3创建简单的html和配置相关thymeleaf的路径

2.4最后再加个启动类,那么我们的整合测试就完成勒
package com.example;
import org.springframework.boot.SpringApplication;
import org.springframework.boot.autoconfigure.SpringBootApplication;
@SpringBootApplication
public class Application {
    public static void main(String[] args) {
        SpringApplication.run(Application.class,args);
    }
}
2.5成果展示 用户名默认user,密码则随机生成的这串数字


3.进阶版使用
3.1用户名和密码自定义

3.2在config包下创建Encoder
进行密码的校验和转码操作,将密码转成字符串形式,并通过match方法惊醒校验。

3.3赋予账号角色权限
package com.example.config;
import org.springframework.context.annotation.Configuration;
import org.springframework.security.config.annotation.authentication.builders.AuthenticationManagerBuilder;
import org.springframework.security.config.annotation.web.builders.HttpSecurity;
import org.springframework.security.config.annotation.web.configuration.WebSecurityConfigurerAdapter;
@Configuration
public class SecurityConfig extends WebSecurityConfigurerAdapter {
    //角色和资源的关系
    @Override
    protected void configure(HttpSecurity http) throws Exception {
        http.authorizeRequests().antMatchers("/admin").hasRole("ADMIN")
        .antMatchers("/index").access("hasRole('ADMIN') or hasRole('USER') ")
                .anyRequest().authenticated()
        .and()
        .formLogin()
        .loginPage("/login")
        .permitAll()
        .and()
        .logout()
        .permitAll()
        .and()
        .csrf()
        .disable();
    }
    @Override
    protected void configure(AuthenticationManagerBuilder auth) throws Exception {
       auth.inMemoryAuthentication().passwordEncoder(new MyPasswordEncoder())
       .withUser("user").password(new MyPasswordEncoder()
       .encode("000")).roles("USER")
       .and()
       .withUser("admin").password(new MyPasswordEncoder()
       .encode("123")).roles("ADMIN","USER");
    }
}
最后达到admin账号能访问admin.html和index.html
user只能访问index.html的操作
总结
本篇文章就到这里了,希望能够给你带来帮助,也希望您能够多多关注自由互联的更多内容!
【原URL http://www.yidunidc.com/mggfzq.html 请说明出处】