PyCharm如何设置PYUIC
说到PyCharm软件,相信在座的用户都不陌生,不过你们知道PyCharm如何设置PYUIC吗?以下文章就为大伙带来了PyCharm设置PYUIC的方法,对此感兴趣的用户快来下文看看吧。
PyCharm如何设置PYUIC?PyCharm设置PYUIC的方法
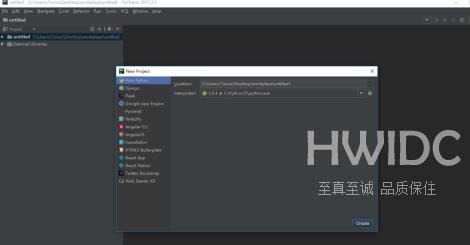
首先打开PyCharm随便新建个工程
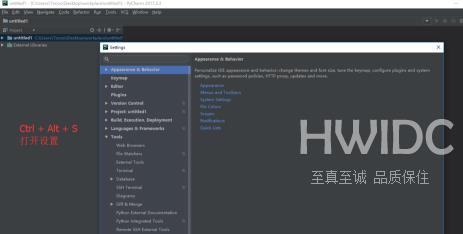
组合键Ctrl + Alt + S打开设置
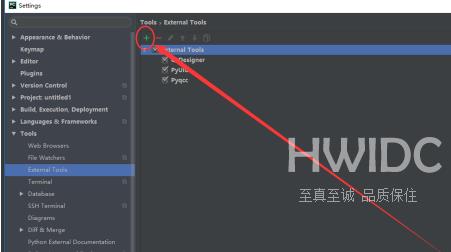
点击External tools
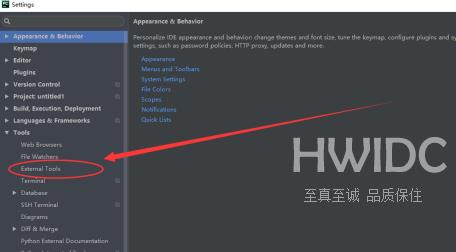
点击新建“+”
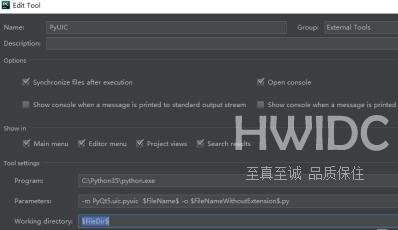
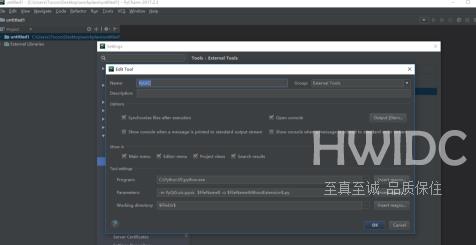
我们这里和下图设置一致即可
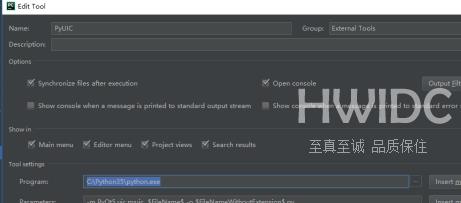
输入=》这个是Python的执行文件位置
C:Python35python.exe
输入=》
-m PyQt5.uic.pyuic $FileName$ -o $FileNameWithoutExtension$.py
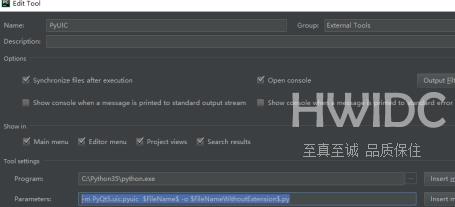
输入=》
$FileDir$
点击保存即可