
ps怎么做花朵圆环效果? ps做花朵圆环效果教程
有的小伙伴会问ps怎么做花朵圆环效果,下面小编就为大家详细的介绍一下,想知道的话就来看看吧,相信一定会帮到你们的。
ps怎么做花朵圆环效果? ps做花朵圆环效果教程
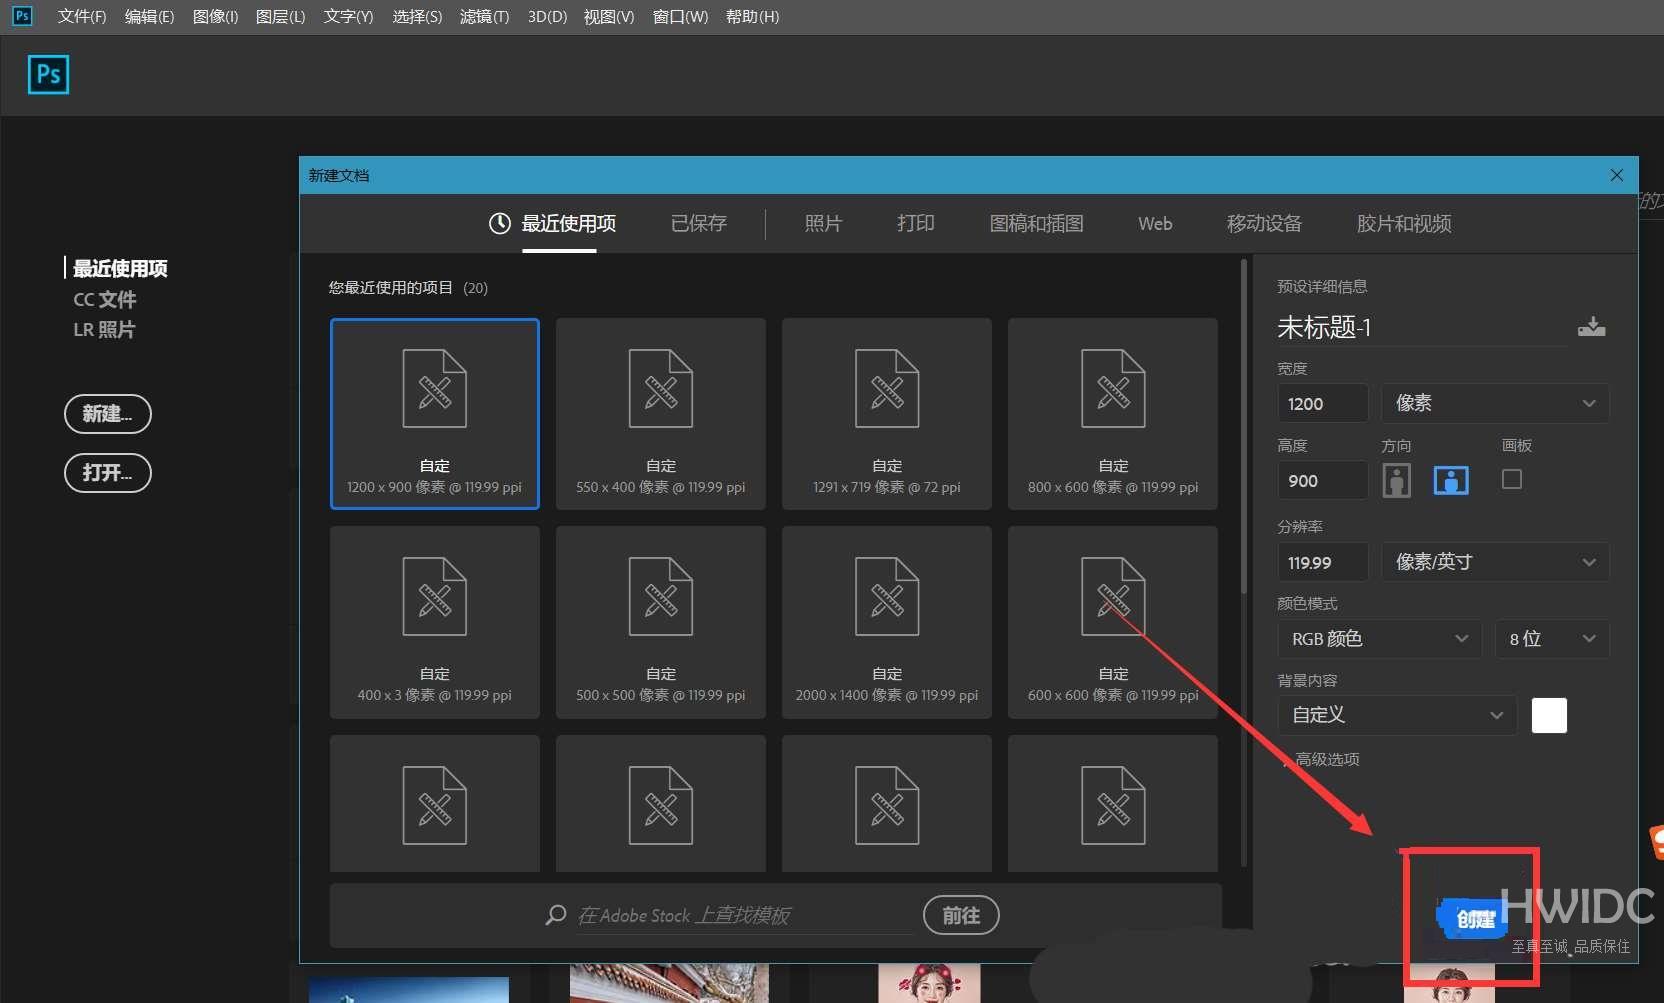
1、首先,我们打开photoshop,新建一个空白画布。
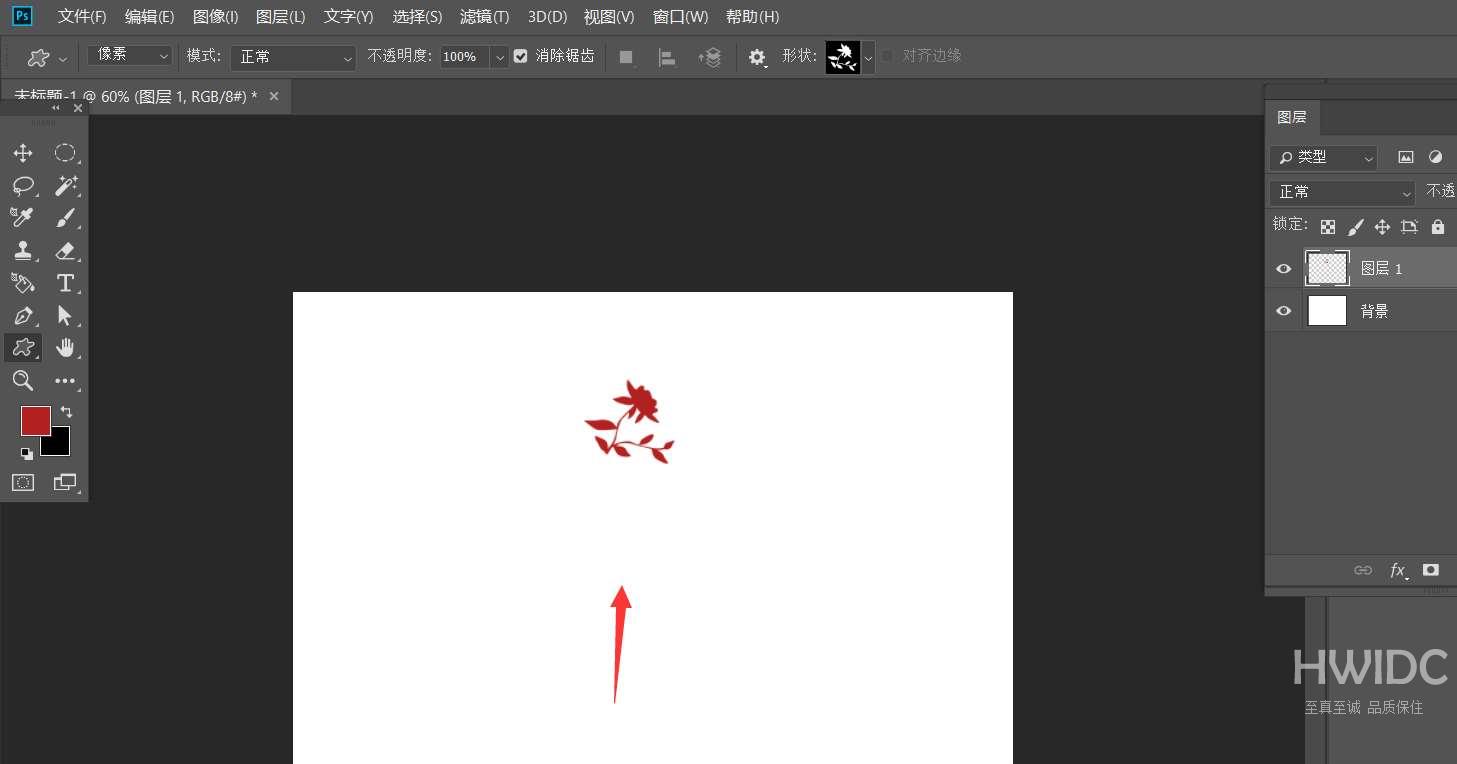
2、然后,我们新建空白图层,用自定义形状工具,设置属性为像素,在画布上画一个花朵图案。
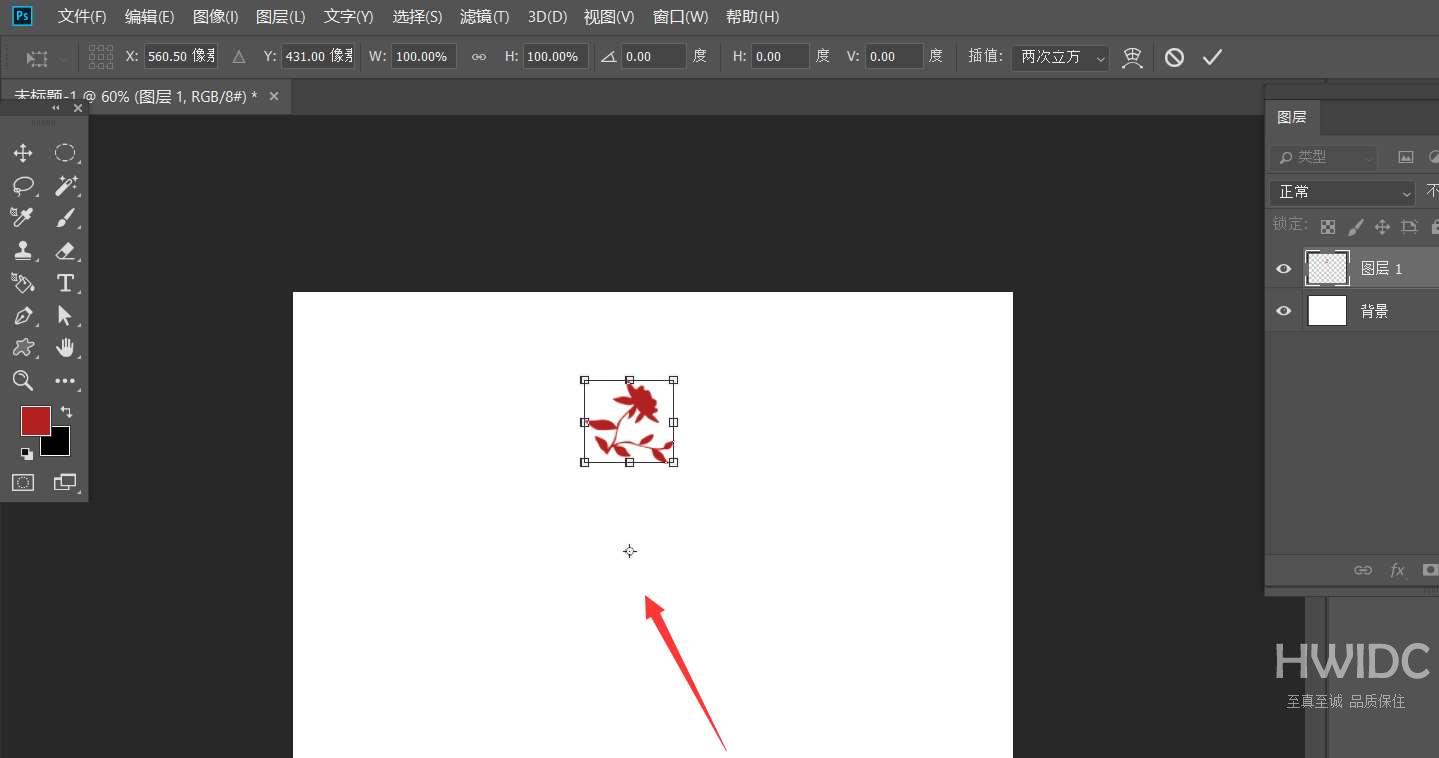
3、接着,我们按ctrl+t自定义花朵图案,如下图,将中心点拖动到图案下方。
4、再在菜单栏将图案旋转30度,如下图所示。
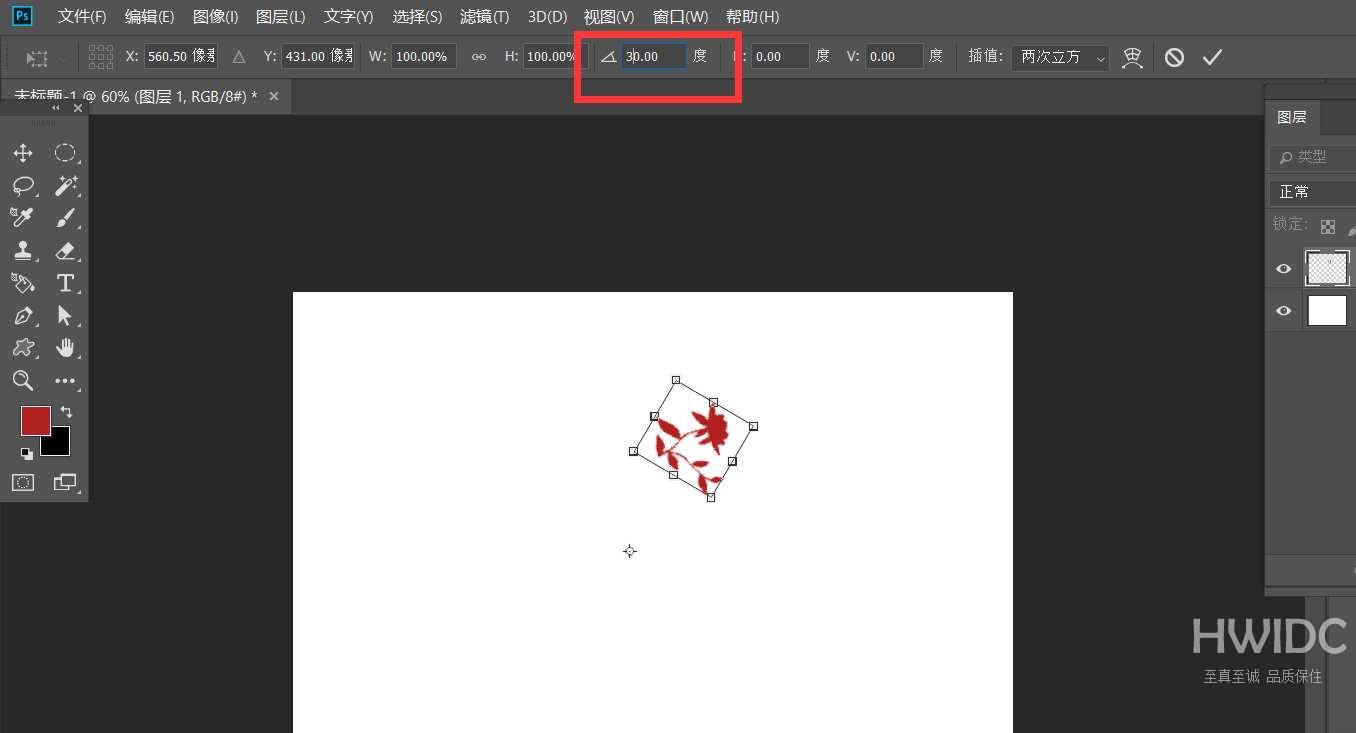
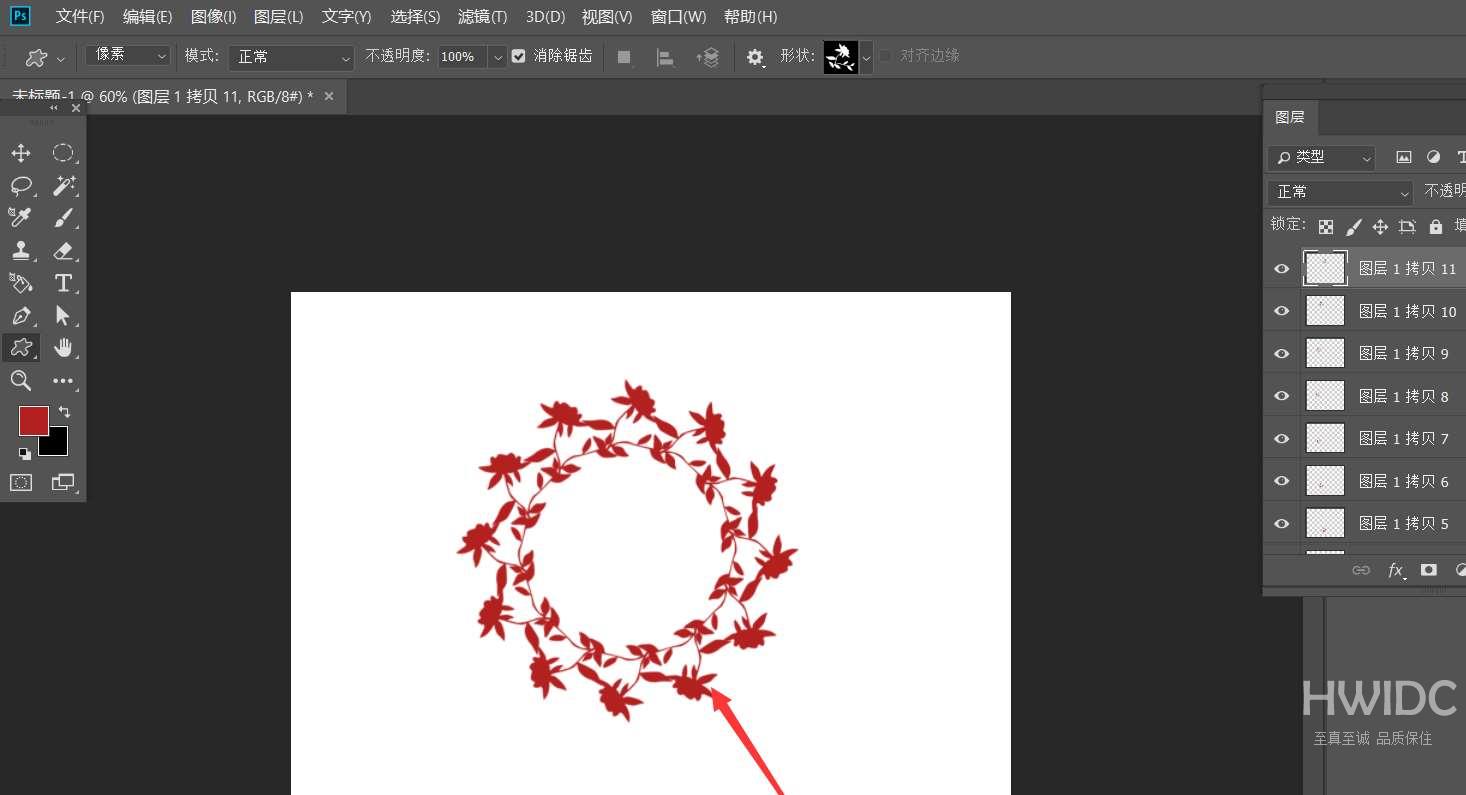
5、最后,我们按下快捷键ctrl+shift+alt+t,重复上一步操作,如下图所示,不断按动快捷键,我们就得到了花朵圆环效果。
以上这篇文章就是ps怎么做花朵圆环效果的步骤内容,有需要的小伙伴快来学习一下吧!
【感谢龙石为本站提供数据底座技术支撑http://www.longshidata.com/pages/government.html】