
Photoshop拟人字体怎么制作
今天小编为大家带来了Photoshop拟人字体制作教程,想知道怎么做的小伙伴来看看接下来的这篇文章吧,相信一定会帮到你们的。
Photoshop拟人字体怎么制作?Photoshop拟人字体制作教程
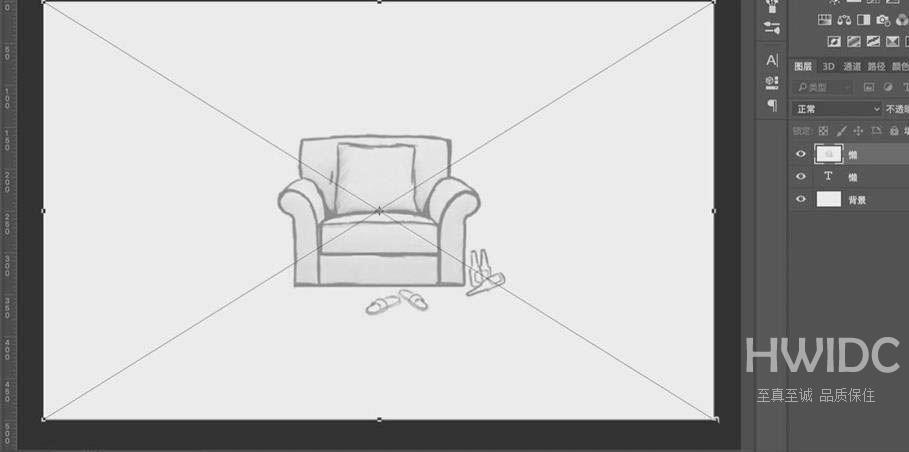
1、首先打开PS,将做好的素材【拖入】画布。
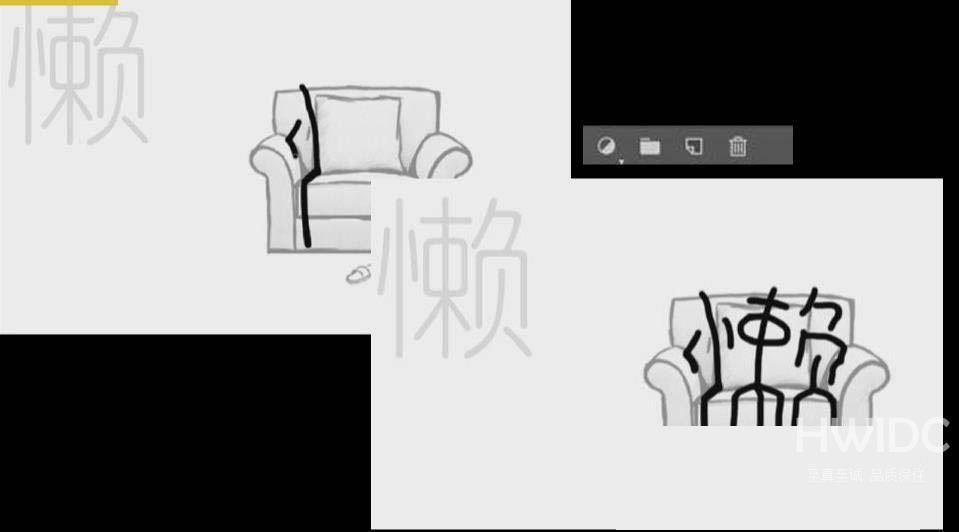
2、然后右下角【新建】图层,6px【画笔工具】画出“懒”字像人一样瘫在沙发上的感觉,注意字需要像人一样有两个折角。(其中竖心旁的左边一点放在沙发扶手上)
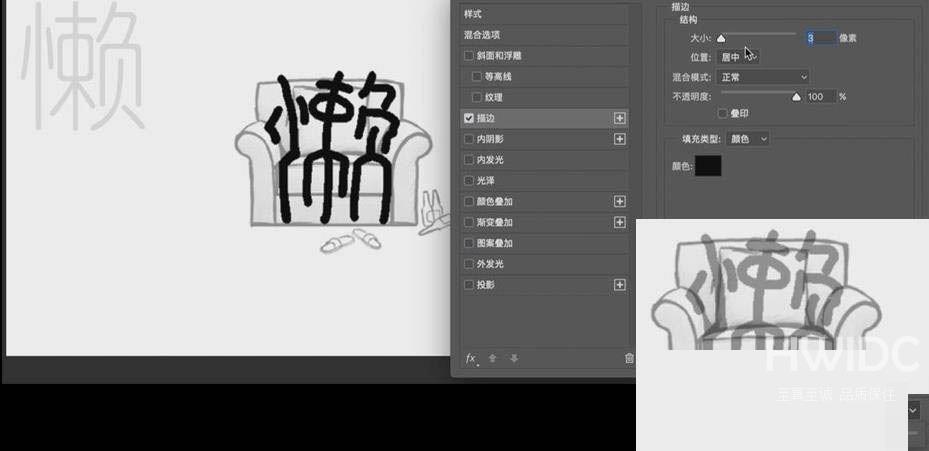
3、【图层样式】-【描边】,大小3px,居中,【不透明度】40%。
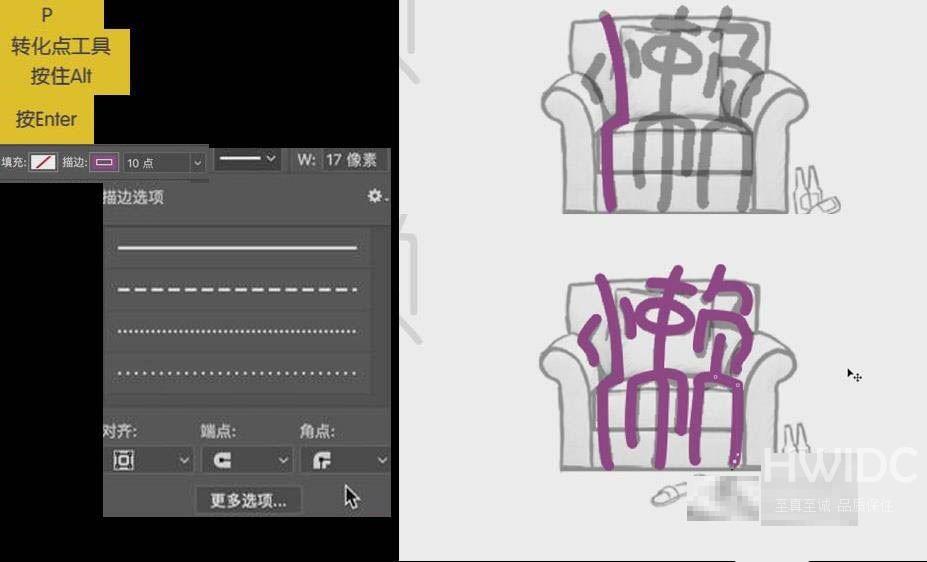
4、接着选中【钢笔工具】,按住Alt使用【转化点工具】,按Enter,【描边】紫色,10pt,【描边选项】中端点及角点选择圆点。将其他笔画也同时做出,每笔笔画做完都需要按Enter。
5、按住shift,【选中】所有图层,【填充】黑色。【直接选择工具】修改笔画细节。将所有图层【编组】至同一组,修改组名为“懒”。
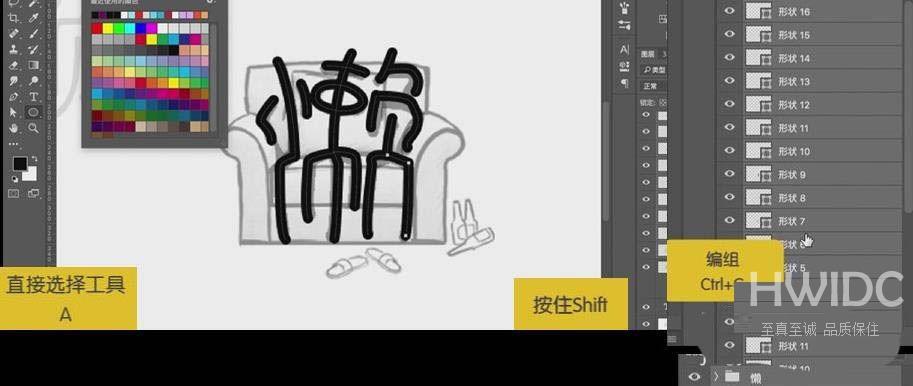
6、再【选中】组,【右键】-【转换为智能对象】,【自由变换】-【透视】,按住shift将懒字调整成梯形形状,使字有近大远小的感觉。【右键】-【置入】。
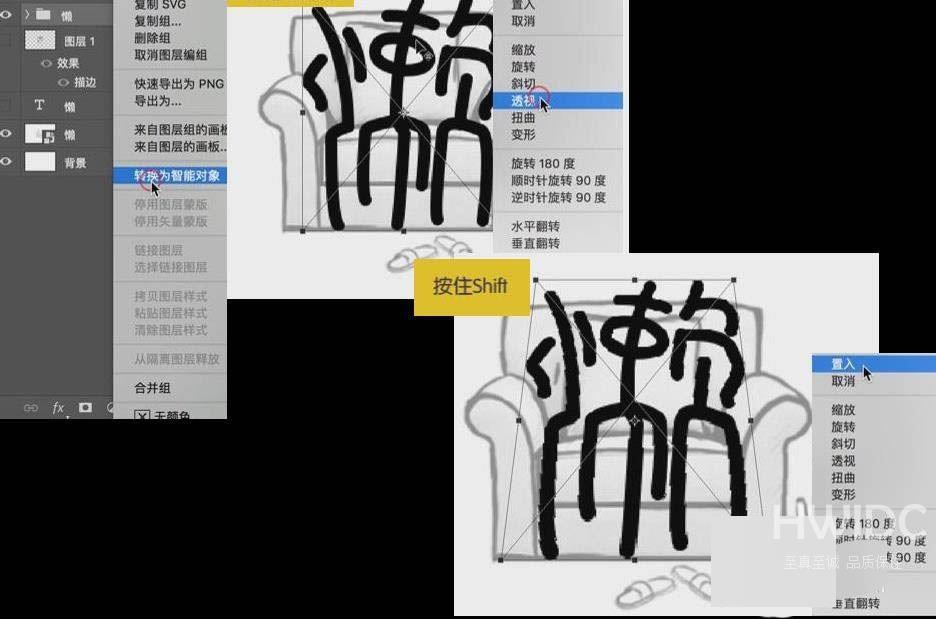
7、由于字有点悬空的感觉,【右键】-【变形】将中部向下拉,使中间折的部分坐在沙发上。

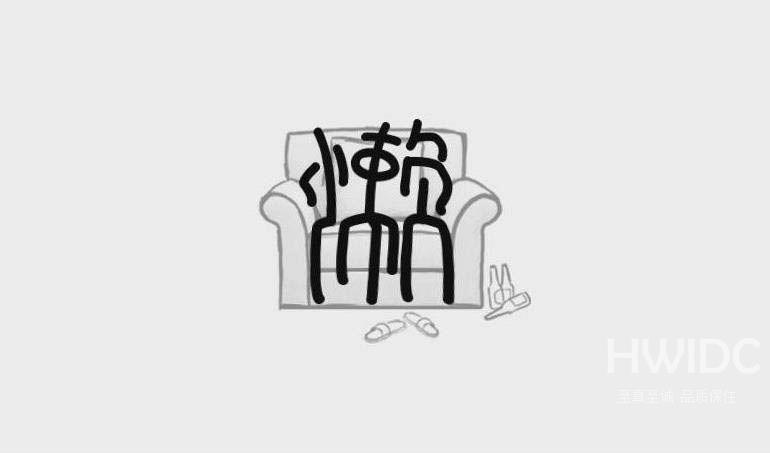
8、最后“懒”字效果完成。
希望此教程能帮到大家!更多教程请关注海外IDC网!
【文章转自国外服务器 http://www.558idc.com处的文章,转载请说明出处】